Drawing Fashion Figures—Day 4: How to Draw this Pose
Using the principles outlined in Anatomy of a Pose, let's practice drawing this pose (step-by-step instructions below):
I like to use reference photos when drawing new poses because it helps me better understand anatomy and body weight distribution. Here’s the reference photo we will use for this tutorial.

Before we begin, draw guidelines for the croquis by following the steps in this article, or print this page.

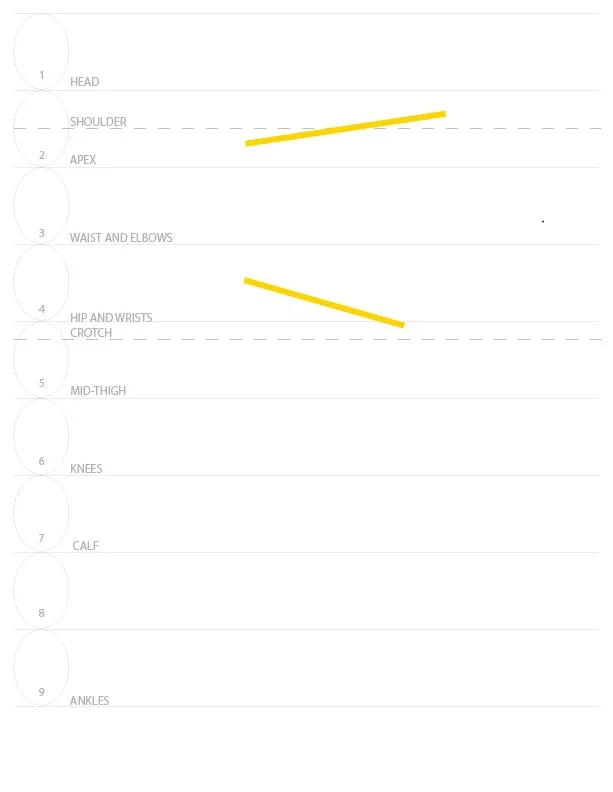
Step 1: Draw the angles of the shoulders and hips
Remember the shoulders angle opposite to the hips.

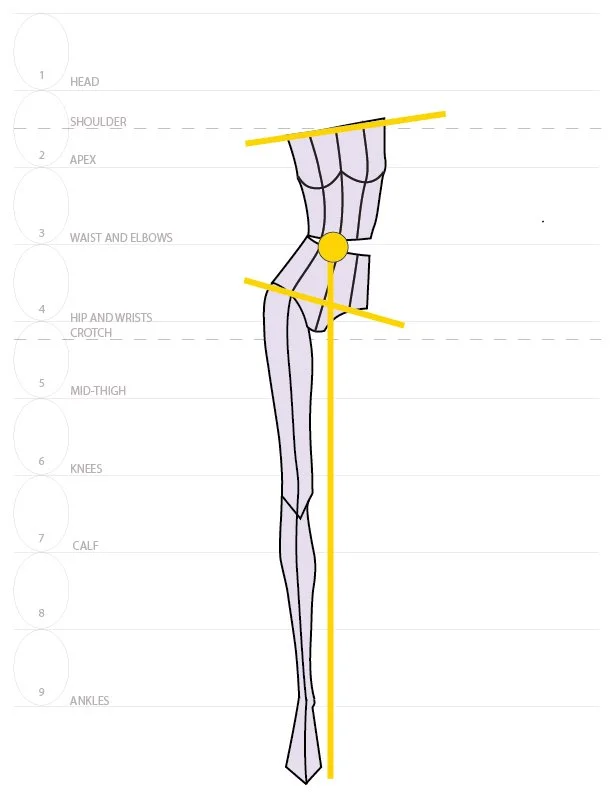
Step 2: Draw the center line of gravity (also called the "balance line")
The figure’s center of gravity is located between the two largest masses of the body— the rib cage and pelvis.
Tip: Do you notice how neither leg is aligned directly with the balance line? The leg closest to the balance line is the dominant leg supporting the most weight, while the other leg supports a fraction of the weight.


Step 3: Draw the essential structures of the pose
Using your basic front-facing croquis as a template, draw the rib cage, pelvis, and dominant leg.

Step 4: Draw the non-essential structures
Draw the other leg, arms, hands, neck and head


Step 5: Add detail
You can do this free-hand or by tracing over the head, hands, and feet template in the Croquis Kit.


-Amiko