
How to Make a Fashion Croquis Brush in Procreate | Beginner Tutorial | 9 Heads
If you're sketching in Procreate and want to stop redrawing the same fashion figure over and over, this guide can help. I'll explain how to create your own croquis stamp—a reusable brush that places your custom fashion figure on the canvas with one tap. It's simple, efficient, and helps you stay focused on the design.

💃🏻 What is a Croquis (and Why You Should Customize Yours)
A croquis (pronounced "crow-kee") is a simplified fashion figure used as a base to sketch garments. Think of it as a stand-in model for your designs. It helps you explore silhouettes, proportions, and styling details without redrawing a figure each time.
Your croquis should reflect the style, proportions, and personality of your target customer:
Designing for streetwear? A grounded, casual pose might feel more natural.
Working on a tall, elegant resortwear line? Consider an elongated croquis with dramatic lines.
Sketching plus-size or inclusive collections? Make sure your croquis reflects realistic body types.
Creating your own croquis means:
You work from a consistent foundation.
Your designs stay proportionally accurate.
Your fashion illustrations feel cohesive.

✏️ How to Create a Custom Croquis in Procreate
Step 1: Create a Custom Square Canvas
Open Procreate.
Tap the + icon in the Gallery to create a new canvas.
Tap the rectangle + icon to enter the Custom Canvas screen.
Enter the following settings:
Units: Inches
Width: 10"
Height: 10" (must be square!)
DPI: 300
Name: Custom Croquis
Tap Create

Step 2A: Insert an Existing Croquis
Go to Actions > Add > Insert a photo or file.
Select your croquis image.
Activate the Transform tool (arrow icon).
Set to Uniform for proportional scaling.
Resize and position using the yellow alignment guides to center.
Tap Transform (arrow icon) to apply.


Step 2B: Draw Your Own Croquis
🚀 To learn a simple method to create a professional female croquis template, one step at a time, follow the below Youtube video or blog post.
🚀 For more stylized female croquis poses, check out the free Anatomy of a Pose free mini-course.
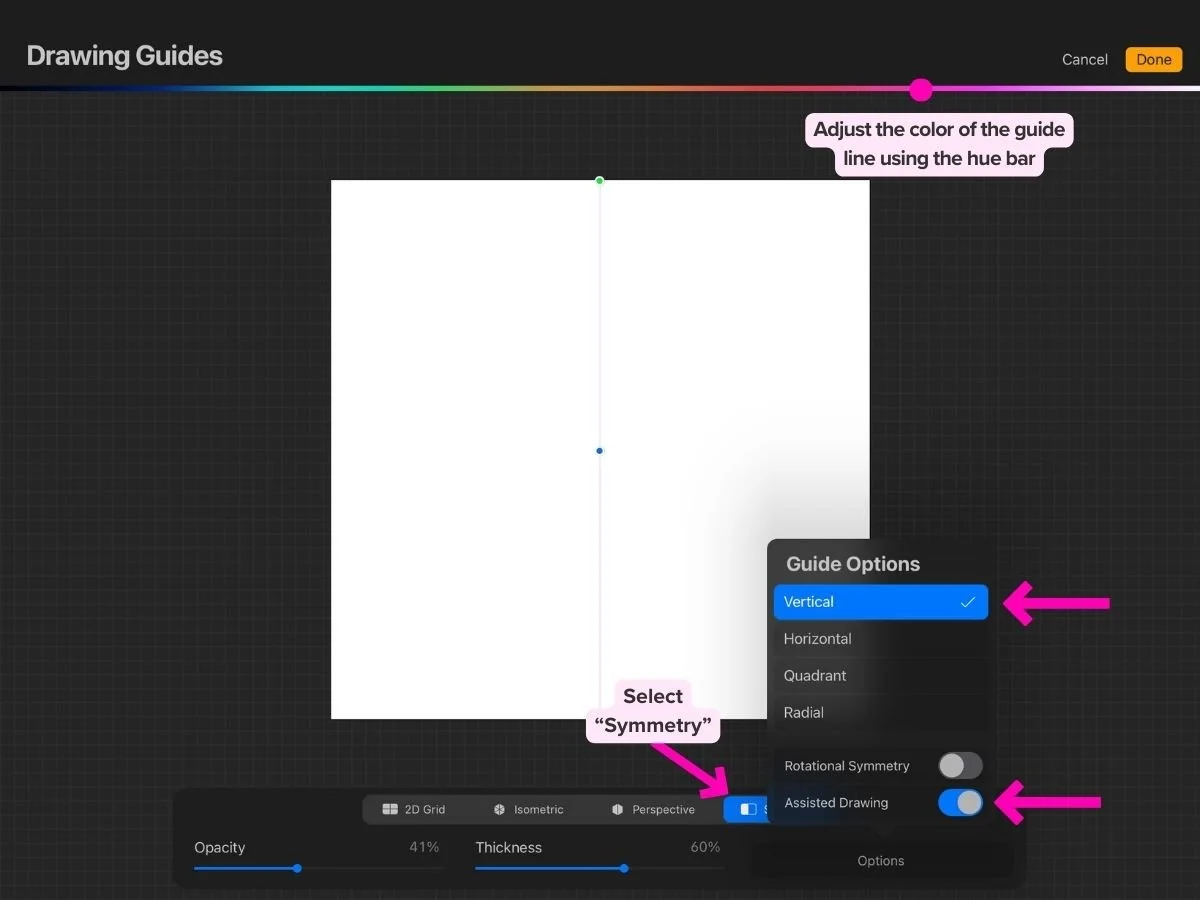
Enable Vertical Symmetry:
If you're making a symmetrical front-view figure, turn on vertical symmetry. If the croquis is not symmetrical (stylized, side, or turned poses,) skip this step.
Go to Actions > Canvas > Drawing Guide (Toggle ON) > Edit Drawing Guide.
Select Symmetry, tap Options, choose Vertical, and tap Done.
The drawing guide should be on the center of your canvas. If not, drag it to the center.
For more on drawing guides, check out Procreate’s official handbook.
Make sure "Drawing Assist" is turned on for the active layer.
Open the layer panels, you should see "assisted" under the layer name.
You can turn drawing assist on and off by tapping on the layer and selecting "Drawing Assist."

Sketch the Rough Draft:
Create a new layer.
Use a light pencil brush and reference photos.
Create the Final Linework:
Lower the sketch layer opacity (tap the letter "N" on the layer > adjust slider)
Lock the layer (slide to the right> Lock)
Create a new layer.
Use a clean brush like Technical Pen to trace the silhouette (no hair, face, or details unless necessary).


Clean and Center:
Hide the rough draft layer. Tap the checkbox next to the layer name in the Layers panel. This toggles the layer's visibility off.
If necessary: Use the Transform tool (arrow icon) in Uniform mode to center and resize.
Look for yellow lines to help align the croquis perfectly.
🖌️ How to Turn Your Croquis Into a Procreate Stamp Brush
Step 1: Copy the Canvas
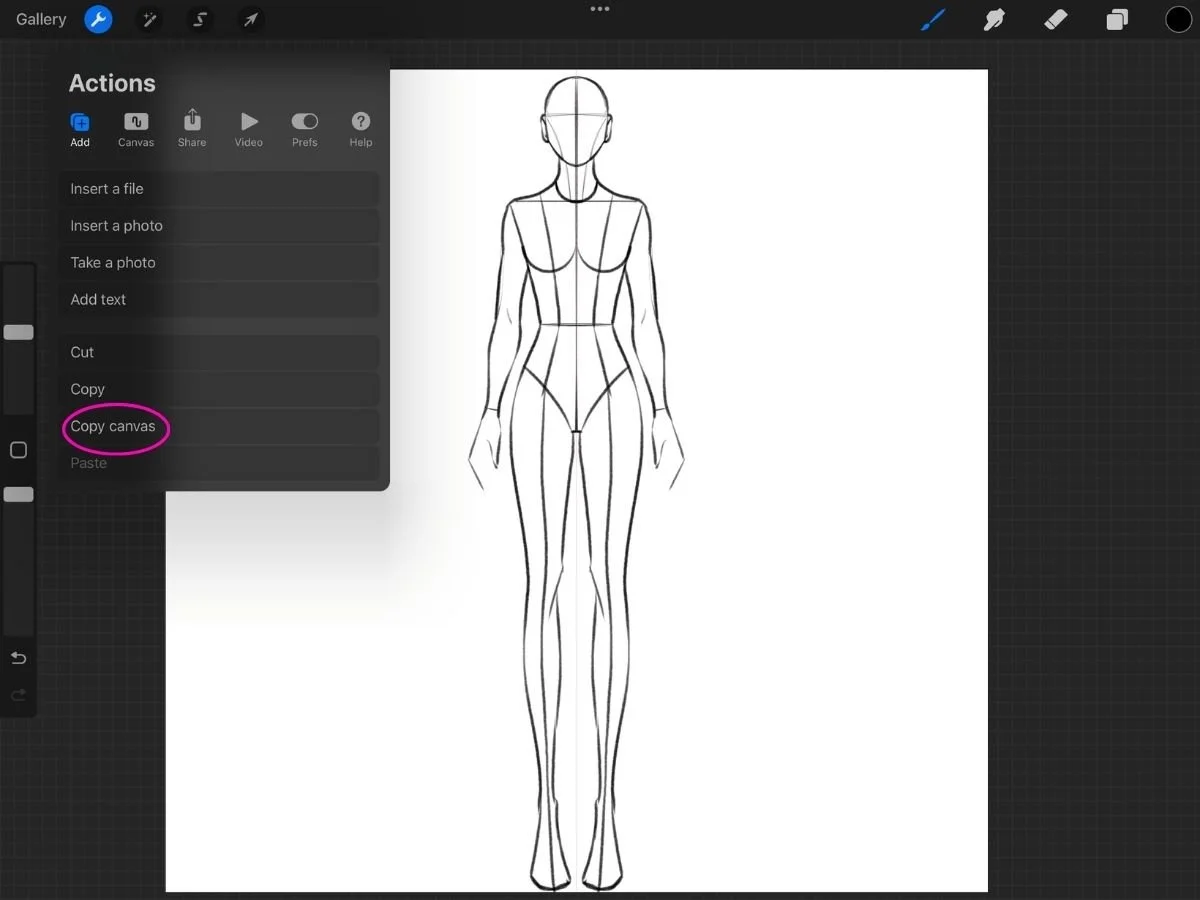
Hide all other layers except your clean croquis and white background color.
Go to Actions > Add > Copy Canvas
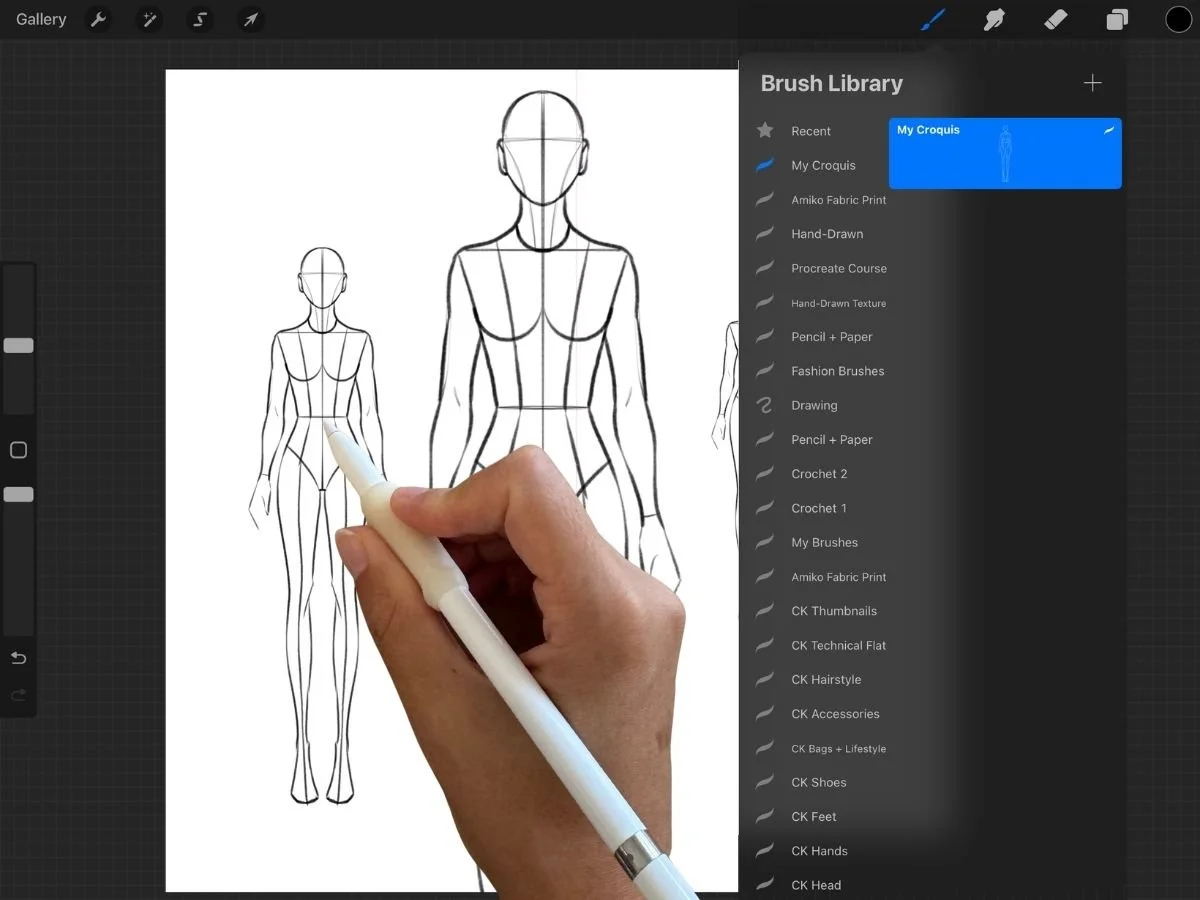
Step 2: Create a New Brush
Tap the Brush icon > Tap the + to create a new brush.

In the Brush Studio, go to Shape > Shape Source > Edit or Tap the preview icon
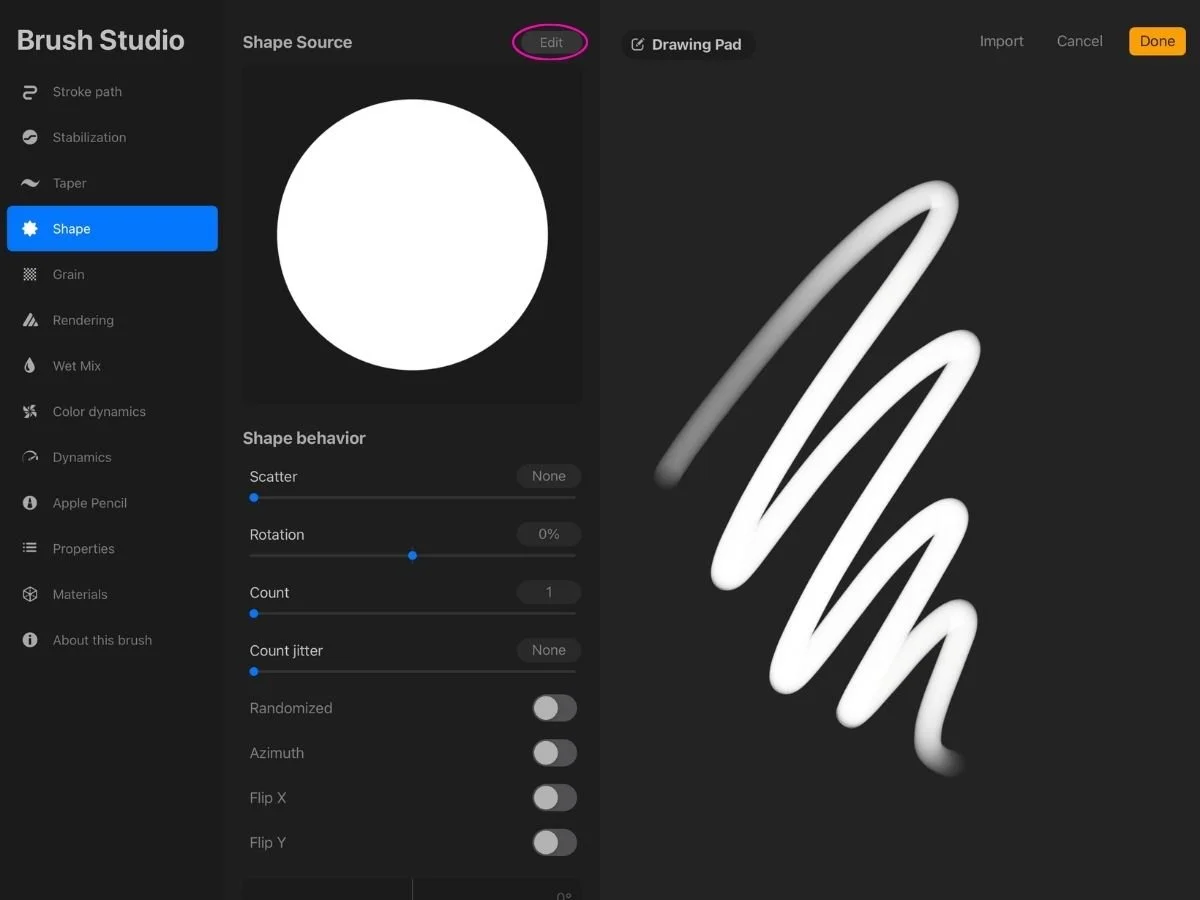
Tap Import > Paste.

Invert the image by tapping two fingers on the image. (You should see white outlines and a black background.)

Tap Done.
Step 3: Adjust Settings
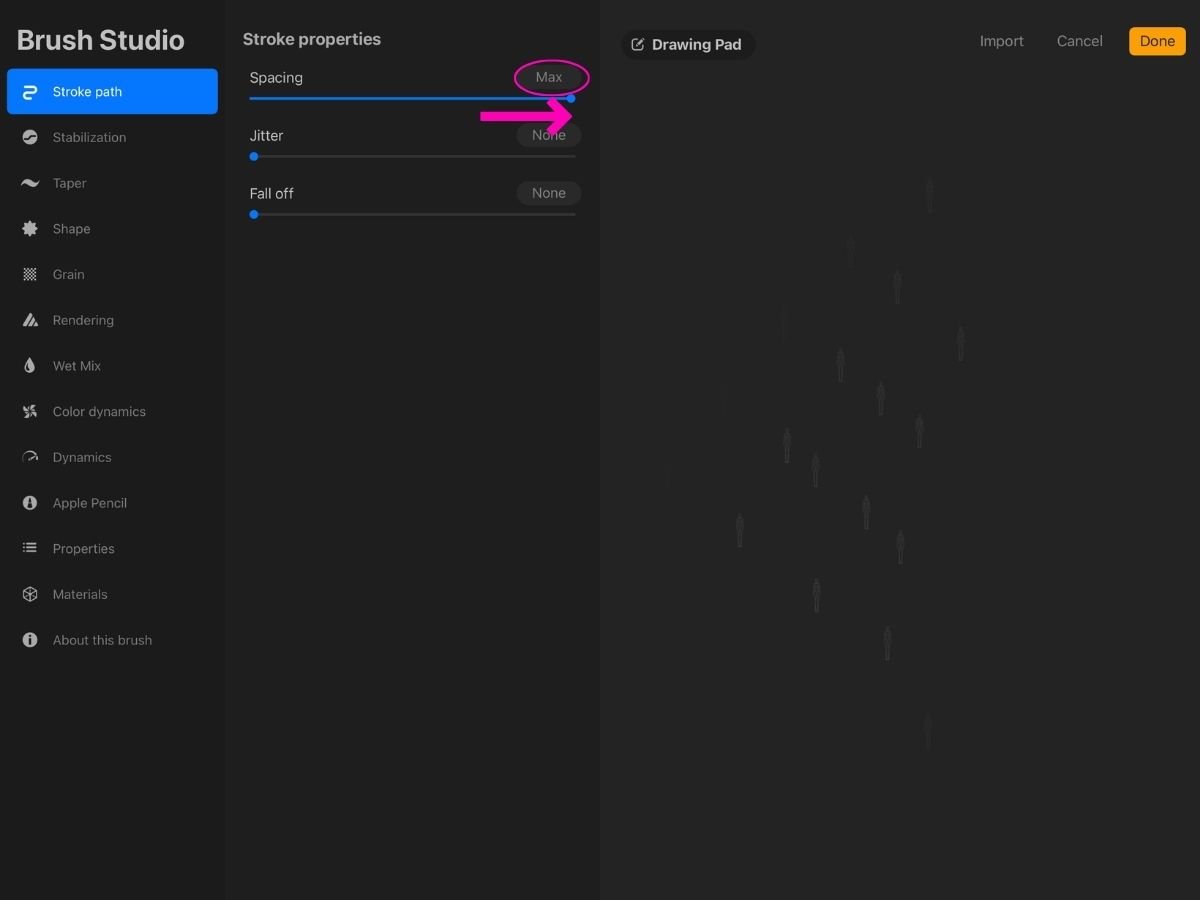
Stroke Path:
Set Spacing to Max
Apple Pencil:
Drag the Opacity slider (under Pressure) to None to remove pressure sensitivity.

Properties:
Turn on Use Stamp Preview
Set Preview Size to ~6% for clear visibility in the brush list.
Adjust Max Size to allow the brush to stamp large figures. Drag slider to the right (max)
Set Min Size to at least 1%

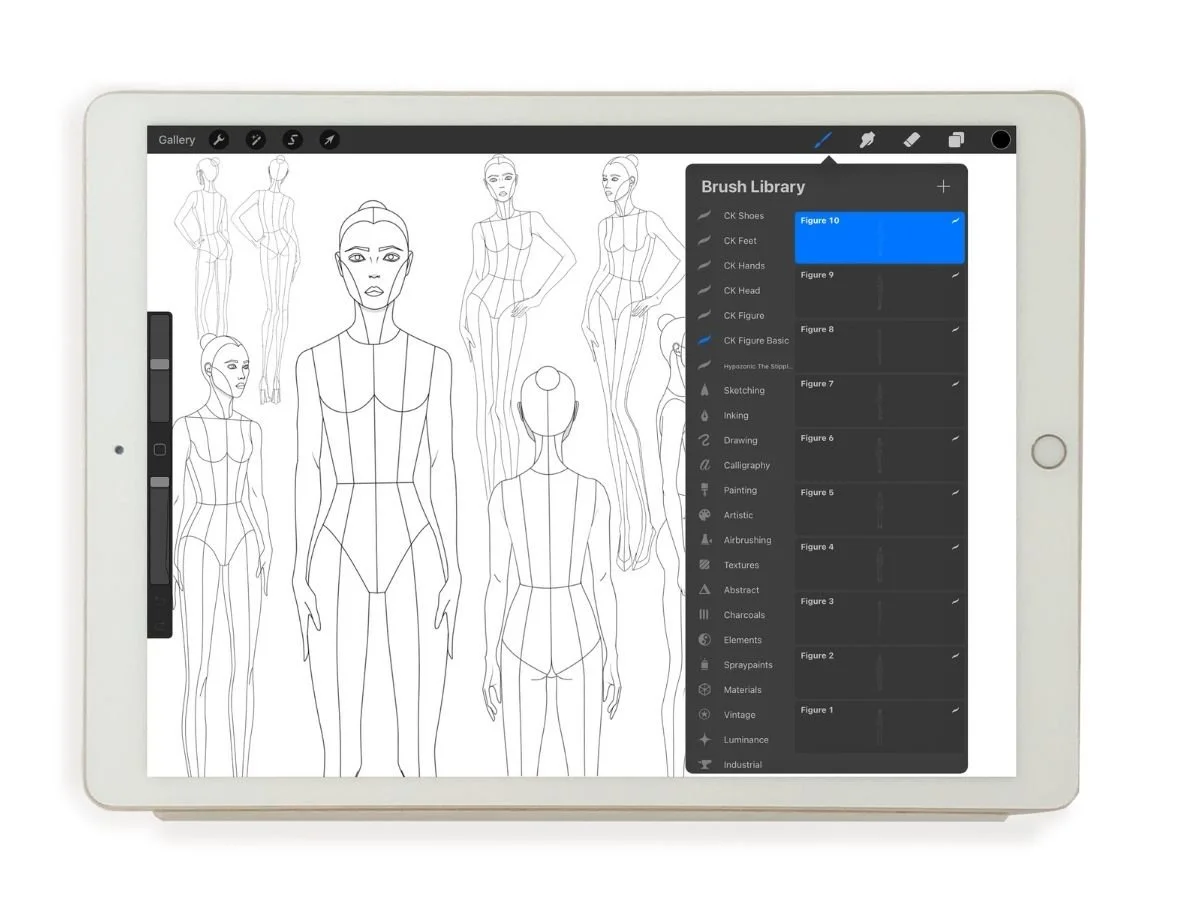
Step 4: Save & Test
Go to About this Brush:
Name your brush (e.g. "Front Croquis Stamp").
Add your name and signature if desired.
Tap Create new reset point to save your current settings.
Tap Done.

Test the Brush
Create a new layer.
Tap once to stamp the brush.
Use the slider to adjust brush size.
Use the Transform tool to resize and reposition if needed.
Troubleshooting
Too large/small? Adjust Max/Min Size under Properties.
Faint or semi-transparent? Double-check Opacity in the Apple Pencil tab. Should be set to "none"
Wrong preview? Make sure Stamp Preview is on and adjust the preview size as desired (Properties > Preview size)
Inverted incorrectly? If your croquis outline appears white and the background is black, the shape source is not properly inverted.
To fix it: open the brush settings > Shape > tap the preview icon under Shape Source > place two fingers on the image to invert it. Then tap Done, and tap Done again to exit the Brush Studio.
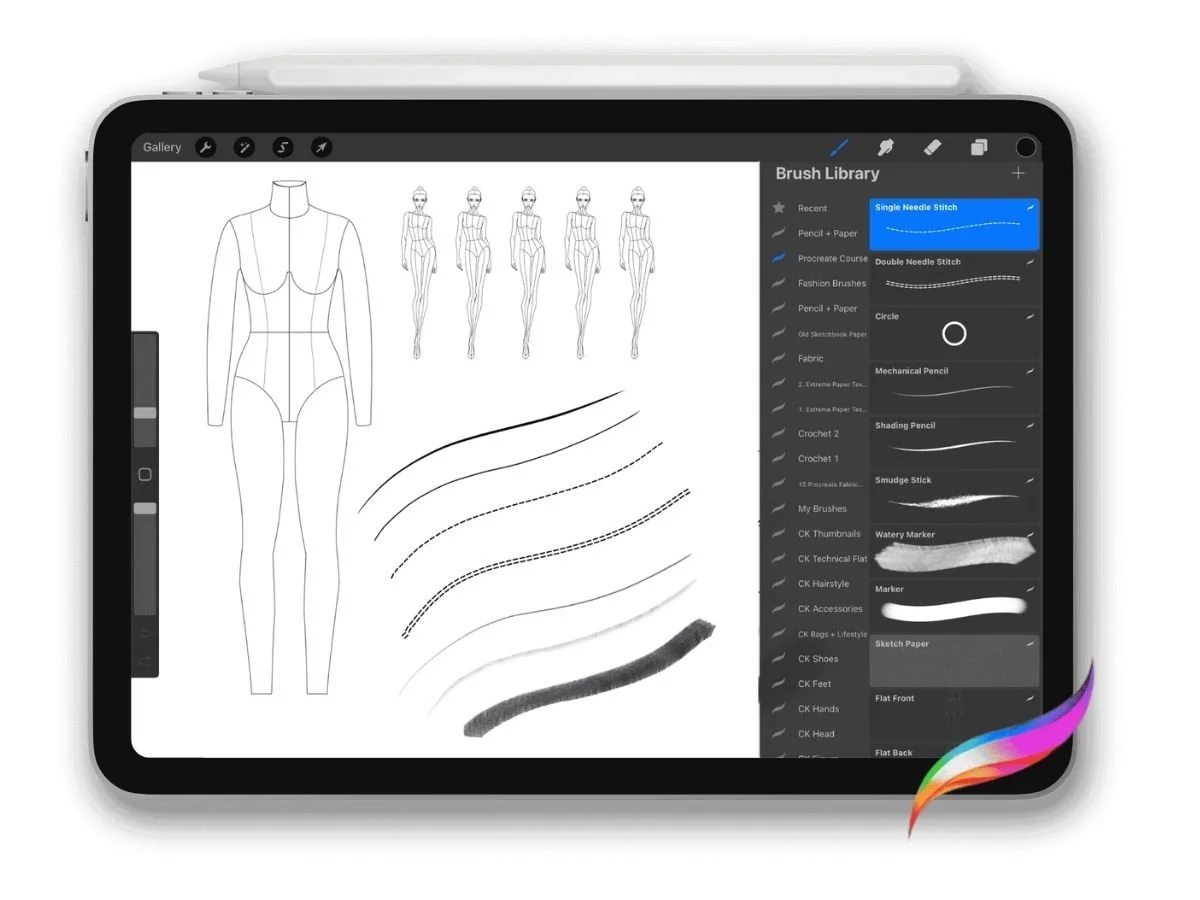
🔹 Tips for Fashion Designers Using Croquis Stamps
Make multiple figure stamps — Try front, back, 3/4, or expressive poses.
Group your croquis layers — Keeps files clean and makes reuse easier.
Lower and Lock— Lower opacity and/or Lock the layer before sketching garments.
🚀 Want Ready-Made Croquis Stamps?
The Procreate for Fashion Design course includes beginner-friendly croquis stamps you can use right away.
“I must say this course stands out as one of the best. The prepared brush sets and the efficient organization for enhanced productivity and ease of use in everyday projects are truly commendable.”
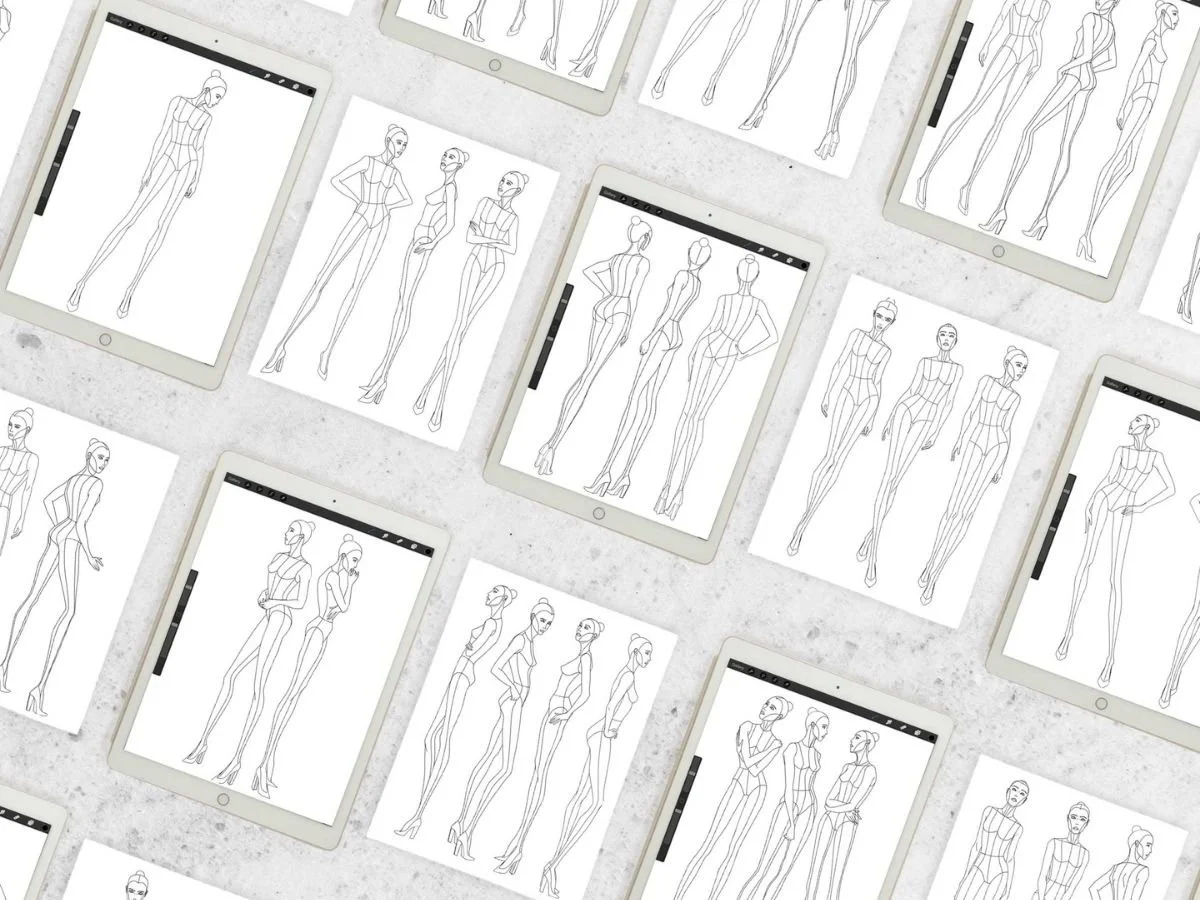
You can also grab the Croquis Kit—the ultimate collection of fashion figure templates for digital sketching in Procreate.
↪️ Recap
A croquis is a reusable figure base for fashion sketching.
Creating your own lets you tailor it to your brand and workflow.
Turning it into a stamp brush makes sketching faster, cleaner, and easier.
Start with one croquis, and soon you’ll have a whole sketch library—ready at the tap of a brush.