
Canvas Settings for Crisp Sketches in Procreate
How to Set Up High-Quality Templates for Fashion Design
If you’ve ever zoomed in on a beautiful sketch only to see blurry or pixelated lines—it’s likely your canvas settings.
Choosing the right resolution and canvas size in Procreate is one of those behind-the-scenes steps that makes a big difference. It affects how sharp your sketches look, how easily you can print them, and whether or not you hit frustrating layer limits halfway through a design.
In this post, we’ll cover:
How to create a high-resolution canvas in Procreate
Which canvas sizes work best for fashion sketches
How to turn your canvas into a simple, reusable template (so you don’t start from scratch every time)
📐 What Does Canvas Size Mean?
In Procreate, every canvas has two important settings:
Size – how wide and tall the canvas is (in inches, centimeters, or pixels)
Resolution – how much detail it holds (measured in DPI, or dots per inch)
If you plan to print your sketch, a resolution of 300 DPI is essential. Even if you don’t plan to print, working at 300 DPI ensures your lines look sharp on high-res screens and in close-up views. Anything lower might look blurry or fuzzy if you zoom in.
🧠 Quick Note on Resolution (and Why It Matters in Procreate)
Procreate is a bitmap app, which means it draws with tiny pixels—kind of like placing individual beads on a canvas. Adobe Illustrator, on the other hand, is vector. Vector means your lines are made from math—paths built from points, curves, and angles—not pixels. That’s why in Illustrator, you can zoom in forever and everything stays sharp.
But in Procreate, if your resolution is too low, your lines can get blurry when you scale up or print. It’s one of the few trade-offs of using Procreate instead of Illustrator—but as long as you start with 300 DPI, you’ll be in good shape.
➕ How to Create a New Canvas in Procreate
To create a new canvas:
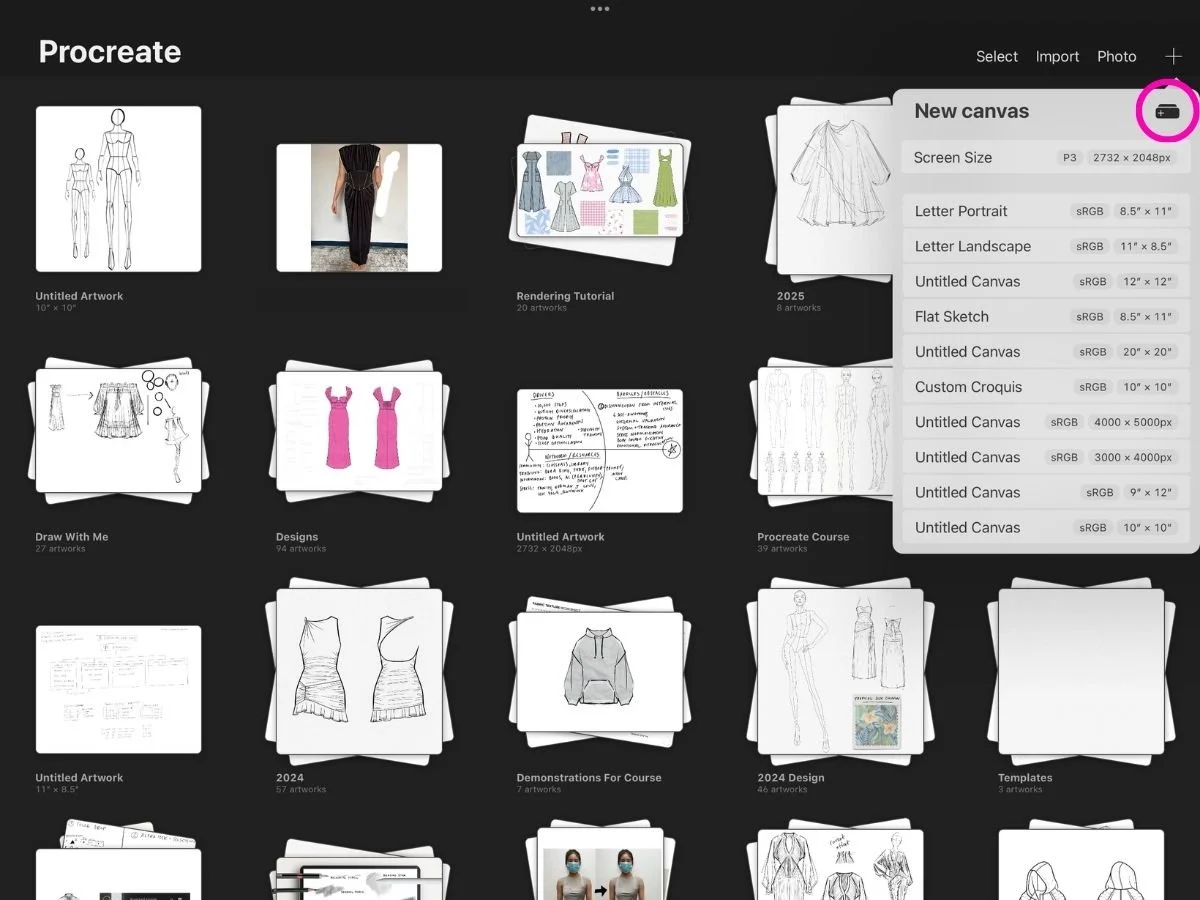
Open the Gallery, then tap the “+” in the top right
Tap the rectangle + icon at the top of the preset list to create a Custom Canvas
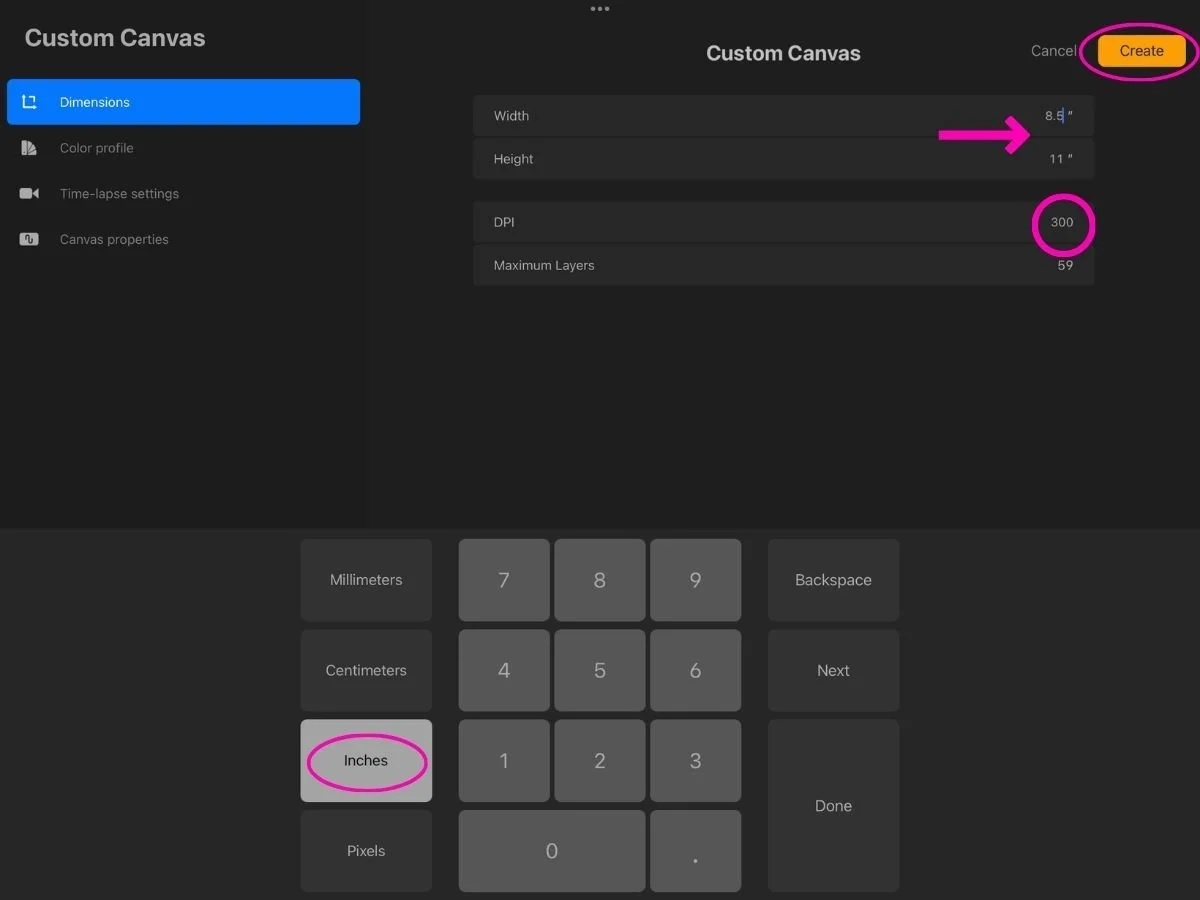
Set your Width, Height, and DPI (300 DPI is recommended)
Tap Create
Your new canvas is now ready for sketching!
📋 Recommended Canvas Sizes for Fashion Design
Here are a few go-to sizes we use in the Procreate for Fashion Design course:
Fashion Figures: 8.5 x 11 in, 300 DPI (portrait)
Fashion Flats: 11 x 8.5 in, 300 DPI (landscape)
Fashion Thumbnails: 11 x 8.5 in, 300 DPI (landscape)
I like using 8.5 x 11 inches, 300 DPI (in either orientation) because it’s the standard for most home printers—so if you want to print your sketches later, they’ll fit without resizing.
That said, feel free to adjust the size based on your needs:
For client work or portfolios, check specific dimension requirements
For personal sketching, use what feels comfortable
As a general rule, I recommend at least 10 inches on each side to avoid pixelation
These sizes give you enough space to draw with detail—without hitting the dreaded layer limit.
The minimum canvas size I recommend for crisp fashion sketches is about 3000 x 3000 pixels (≈10 x 10 inches at 300 DPI).
For more tips on avoiding blurry sketches check out this post: Why Are My Procreate Sketches Blurry? How to Fix Pixelated Lines in Procreate
🧵 Optional: Turn It Into a Reusable Template
If you find yourself using the same canvas settings often, turn your setup into a starter template.
Here are a few things you might want to add:
A background color or paper texture
A croquis figure (you can lower the opacity and lock the layer)
A labeled sketch layer to draw on
Set up drawing guides like vertical symmetry

If you’re not sure how to work with layers, this post walks you through the basics:
👉 How to Use Layers in Procreate
Even a basic setup saves time and gives you a clean starting point every time you sketch.
You don’t have to overbuild this. Even a basic setup saves time and gives you a clean starting point every time you sketch.
Want a complete workflow? The Procreate for Fashion Design course walks you through how to set up sketch templates from scratch—and includes essential tools like figure stamps, flat templates, and brushes made specifically for fashion sketching.
👯♀️ How to Duplicate Your Template
Once your template is set up, here’s how to reuse it:
1.In the Gallery, tap Select (top right)
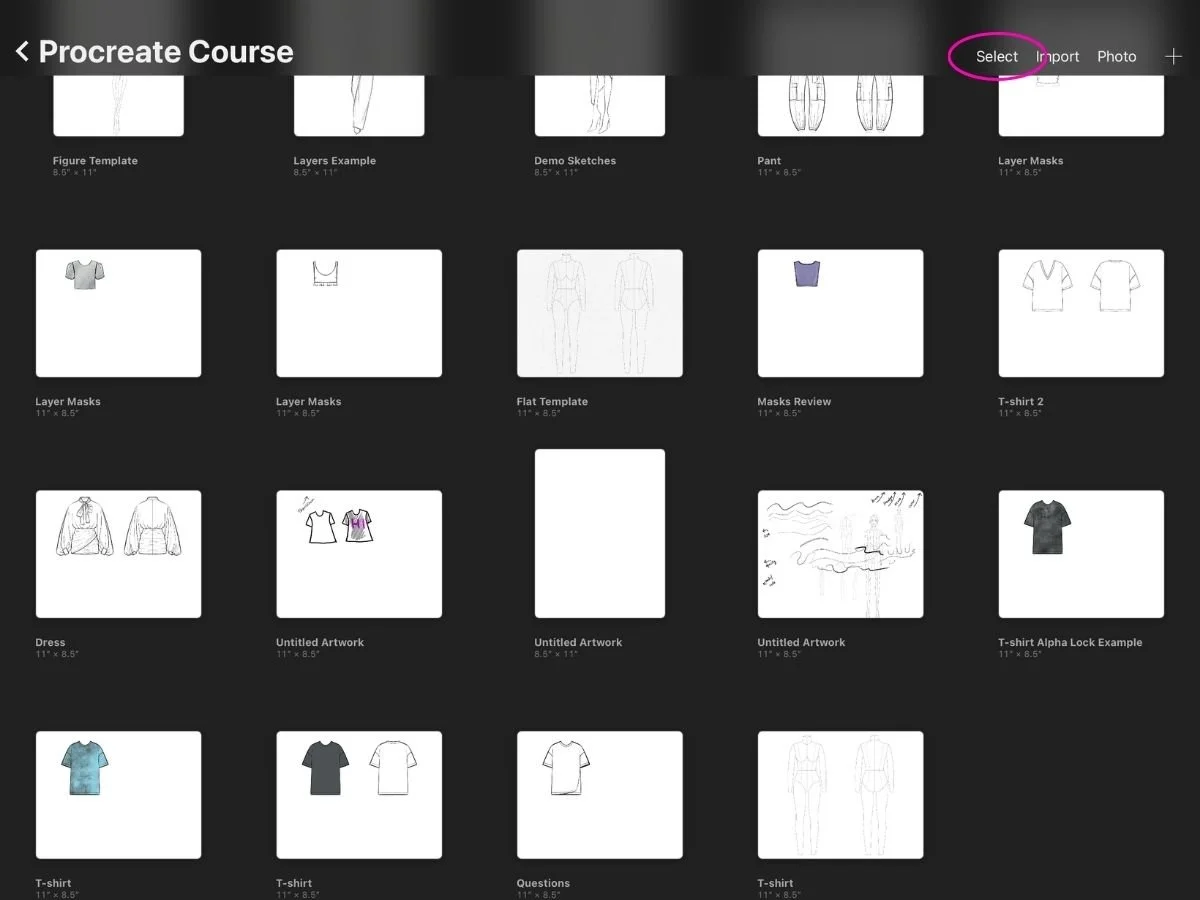
2.Tap your template canvas to highlight it
3. Tap Duplicate

4.Tap X to exit selection mode
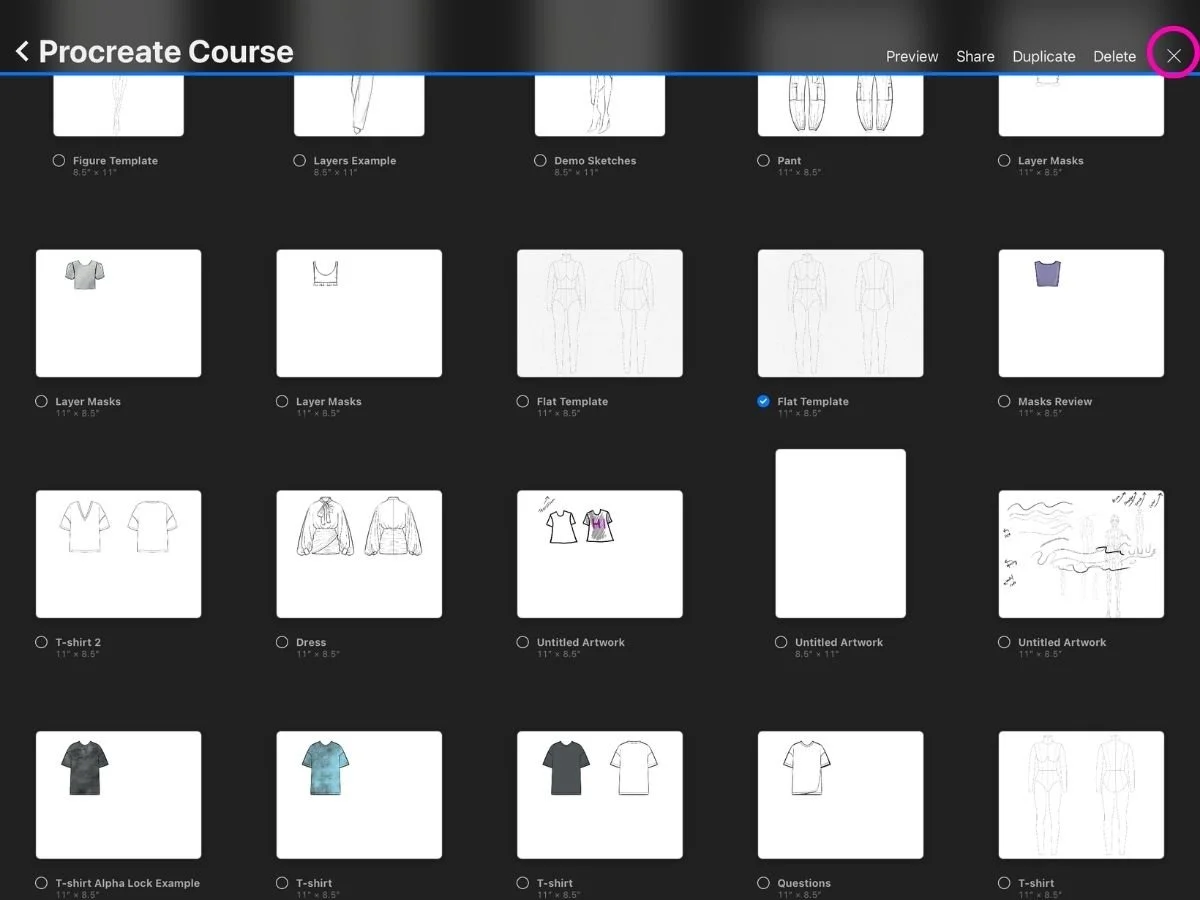
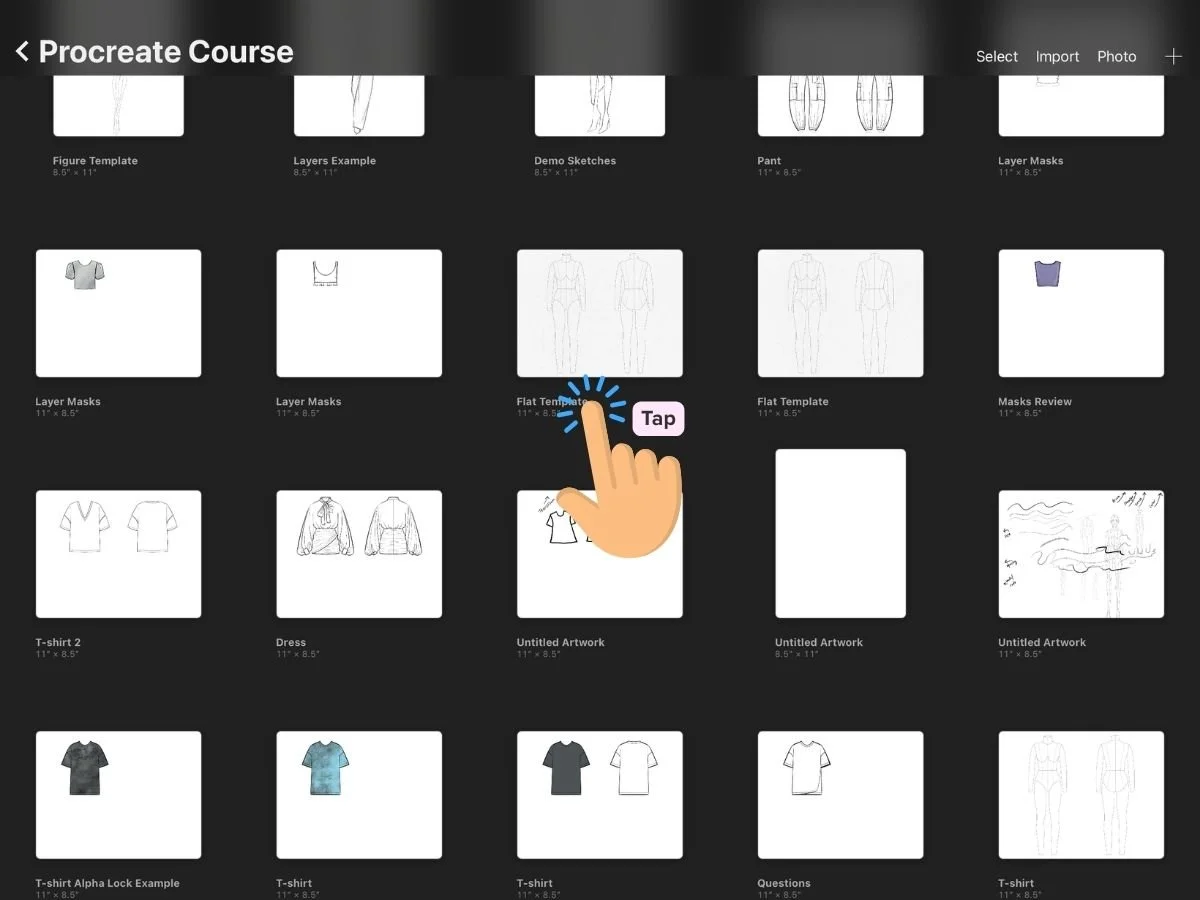
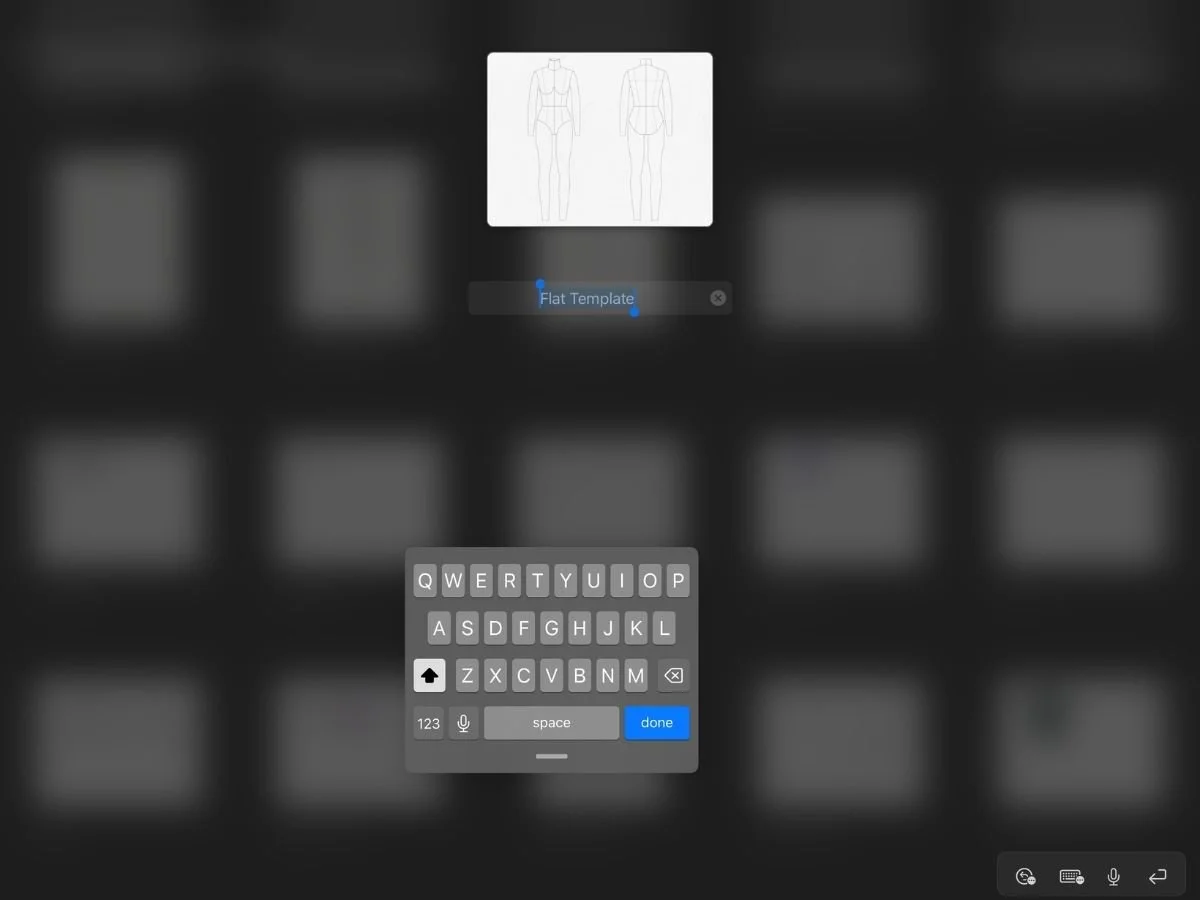
5.Optional: Rename the title of the copy if needed
This keeps your original untouched—and gives you a fresh file with all your settings every time.
🗂 Bonus Tip: Organize Your Templates into Stacks
If your Gallery starts feeling cluttered:
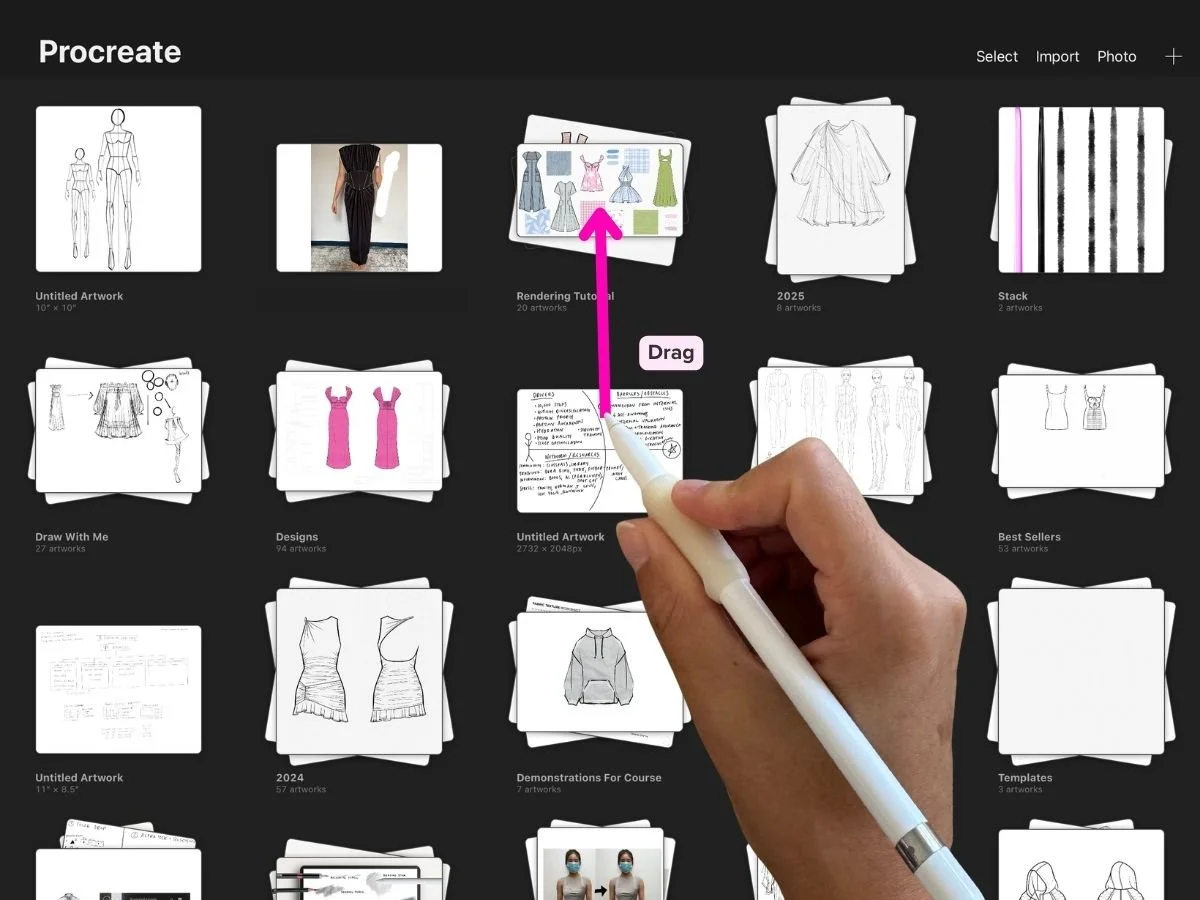
Drag one canvas onto another to create a Stack
Rename the stack by tapping its title
Group templates by type—e.g. “Flats,” “Figures,” or “Thumbnails”
Stacks keep things tidy so you can find what you need quickly.
🧵 Recap
Set resolution to 300 DPI and at least 3000 x 3000 pixels for clean lines and print-friendly sketches
Choose canvas sizes based on your sketch type—figures, flats, or thumbnails
Build a simple starter template with figure layers or drawing guides
Save time by duplicating templates for each new sketch
Use stacks to keep your gallery organized
With the right canvas setup, your sketches stay crisp and easy to duplicate. Clean lines, every time.
Best,
Amiko