Drawing Fashion Figures—Day 7: How to Draw this Pose
Using the principles outlined in Anatomy of a Pose, let's practice drawing this pose (step-by-step instructions below):

Before we begin, draw guidelines for the croquis by following the steps in this article, or print this page.

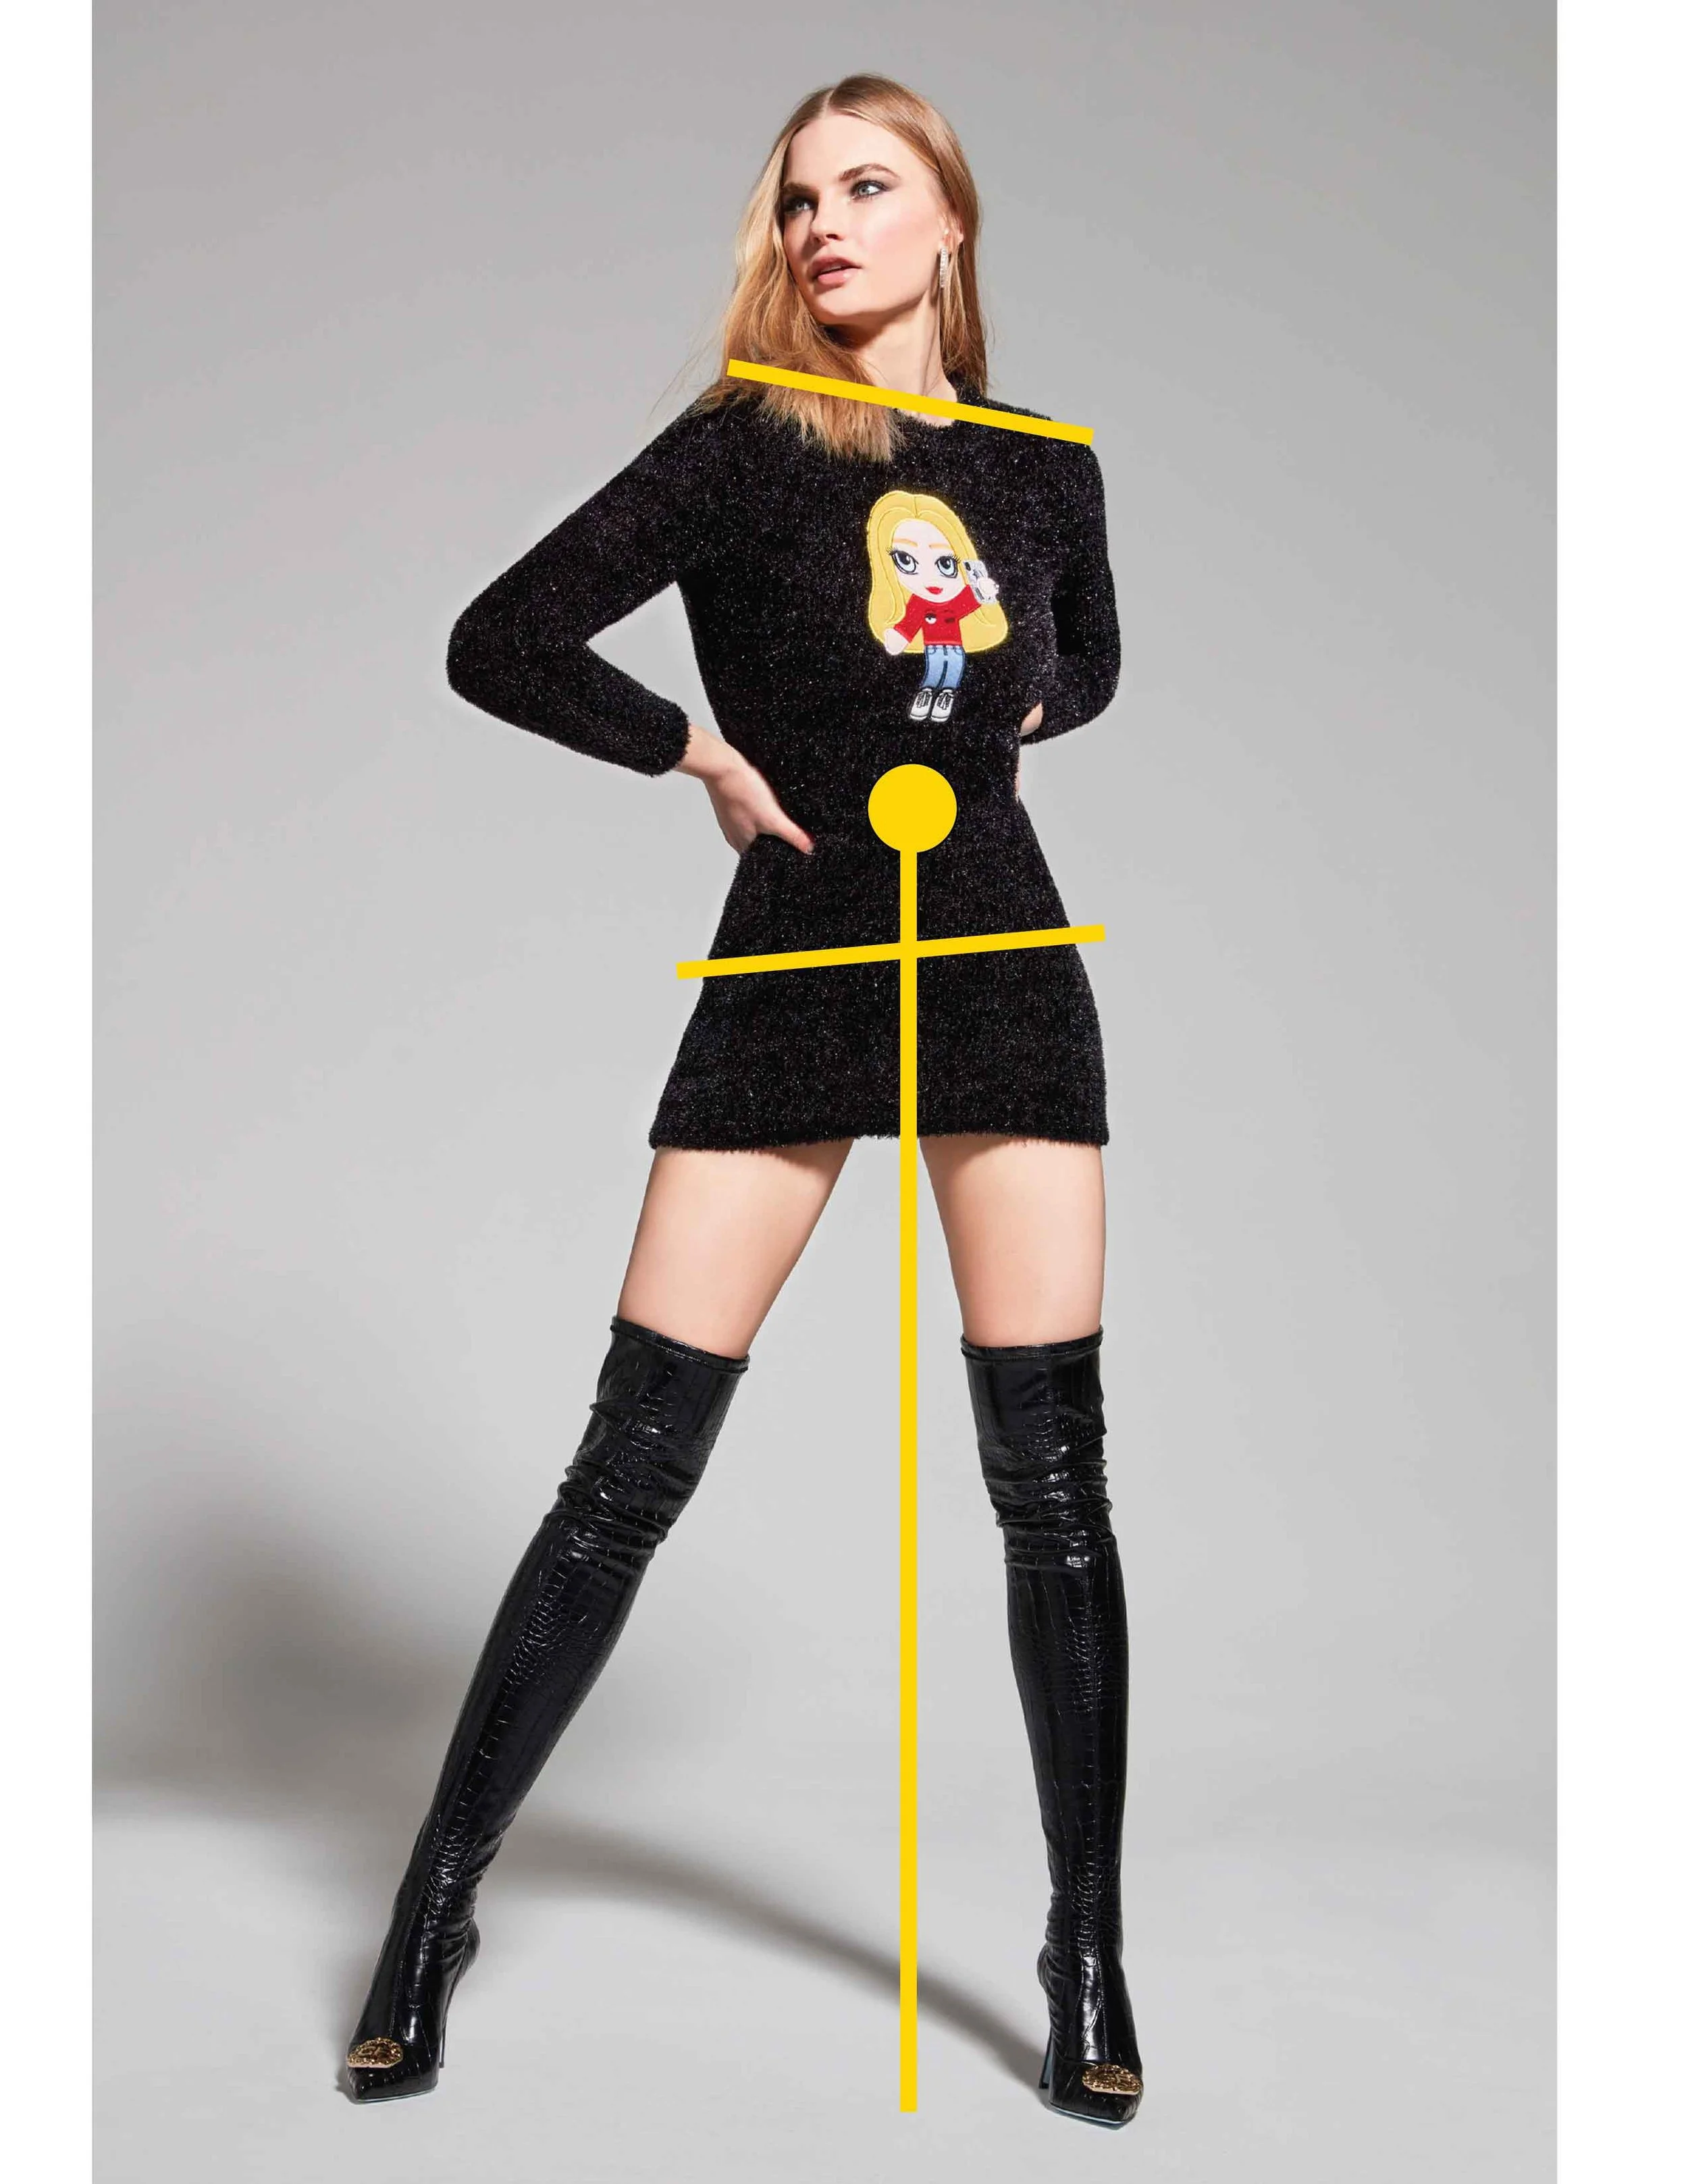
Step 1: Draw the angles of the shoulders and hips
Remember the shoulders angle opposite to the hips.


Step 2: Draw the center line of gravity
The figure’s center of gravity is located between the two largest masses of the body— the rib cage and pelvis.


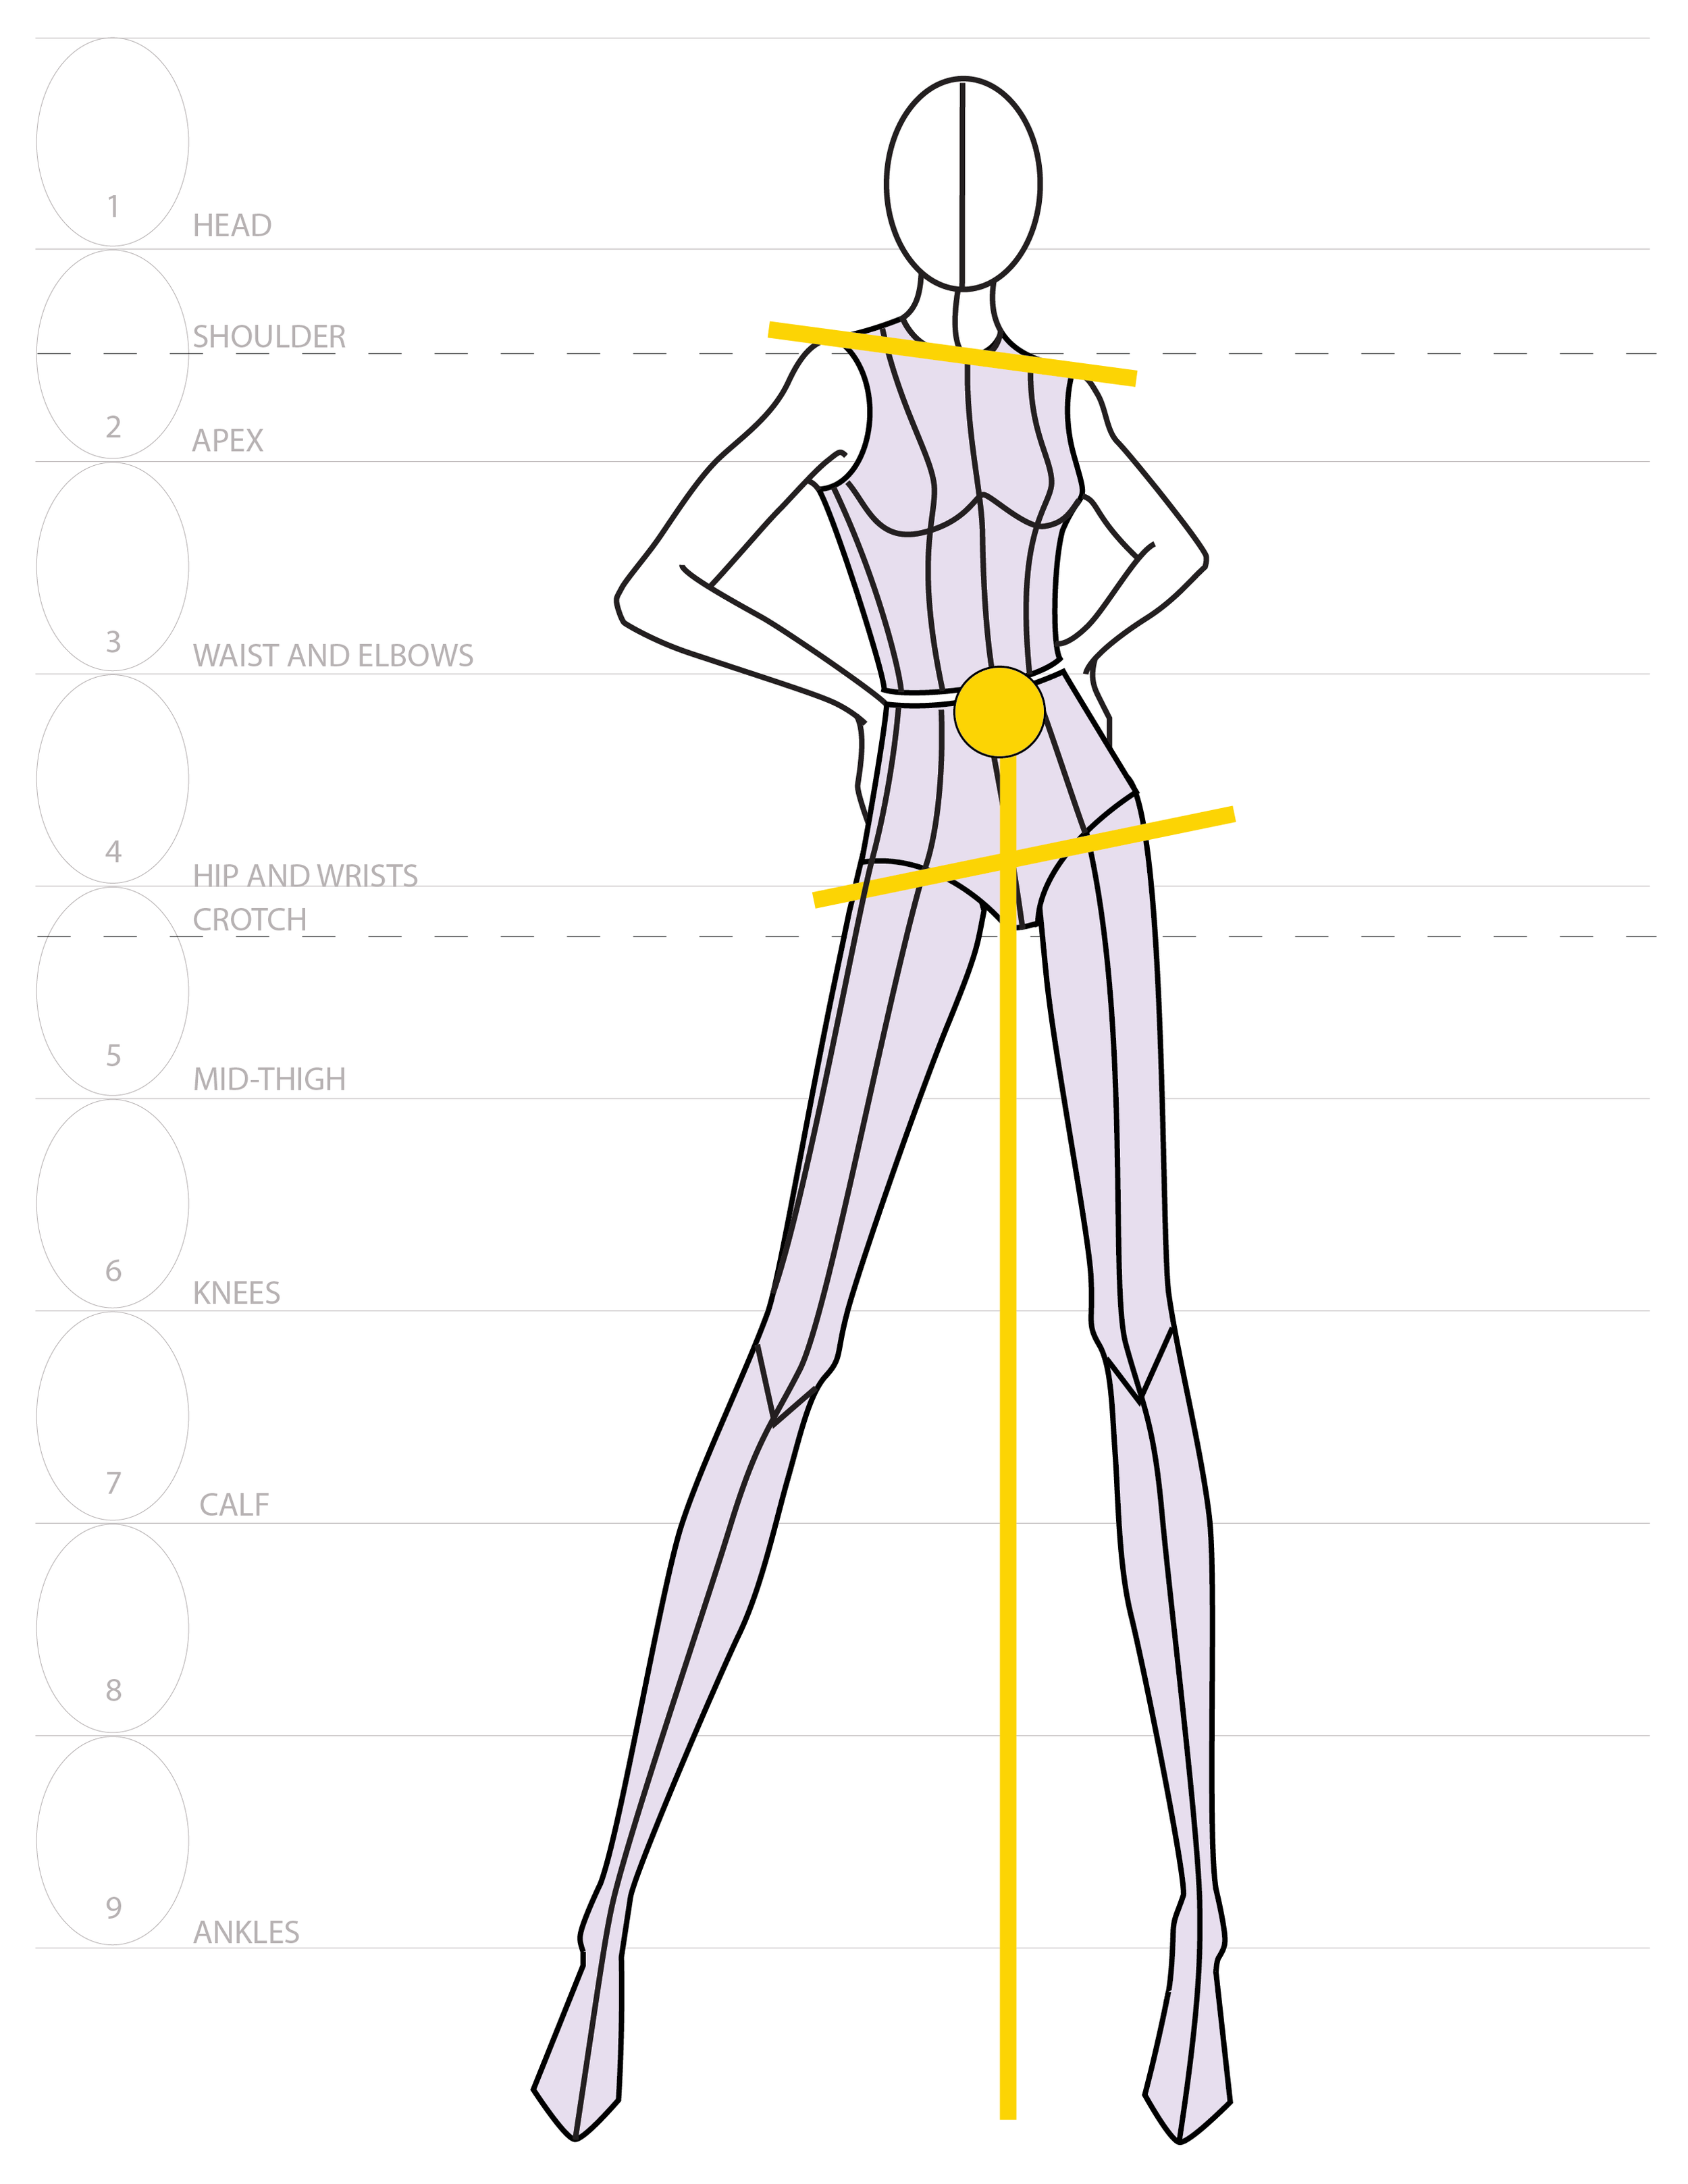
Step 3: Draw the essential structures of the pose
Using your basic front-facing croquis as a template, draw the rib cage, pelvis, and legs.
Tip: In this case, both legs are essential, but the leg closest to the balance line is more dominant.
Tip: When the torso is partially turned, draw the side seam, armhole, and the profile of the bust.

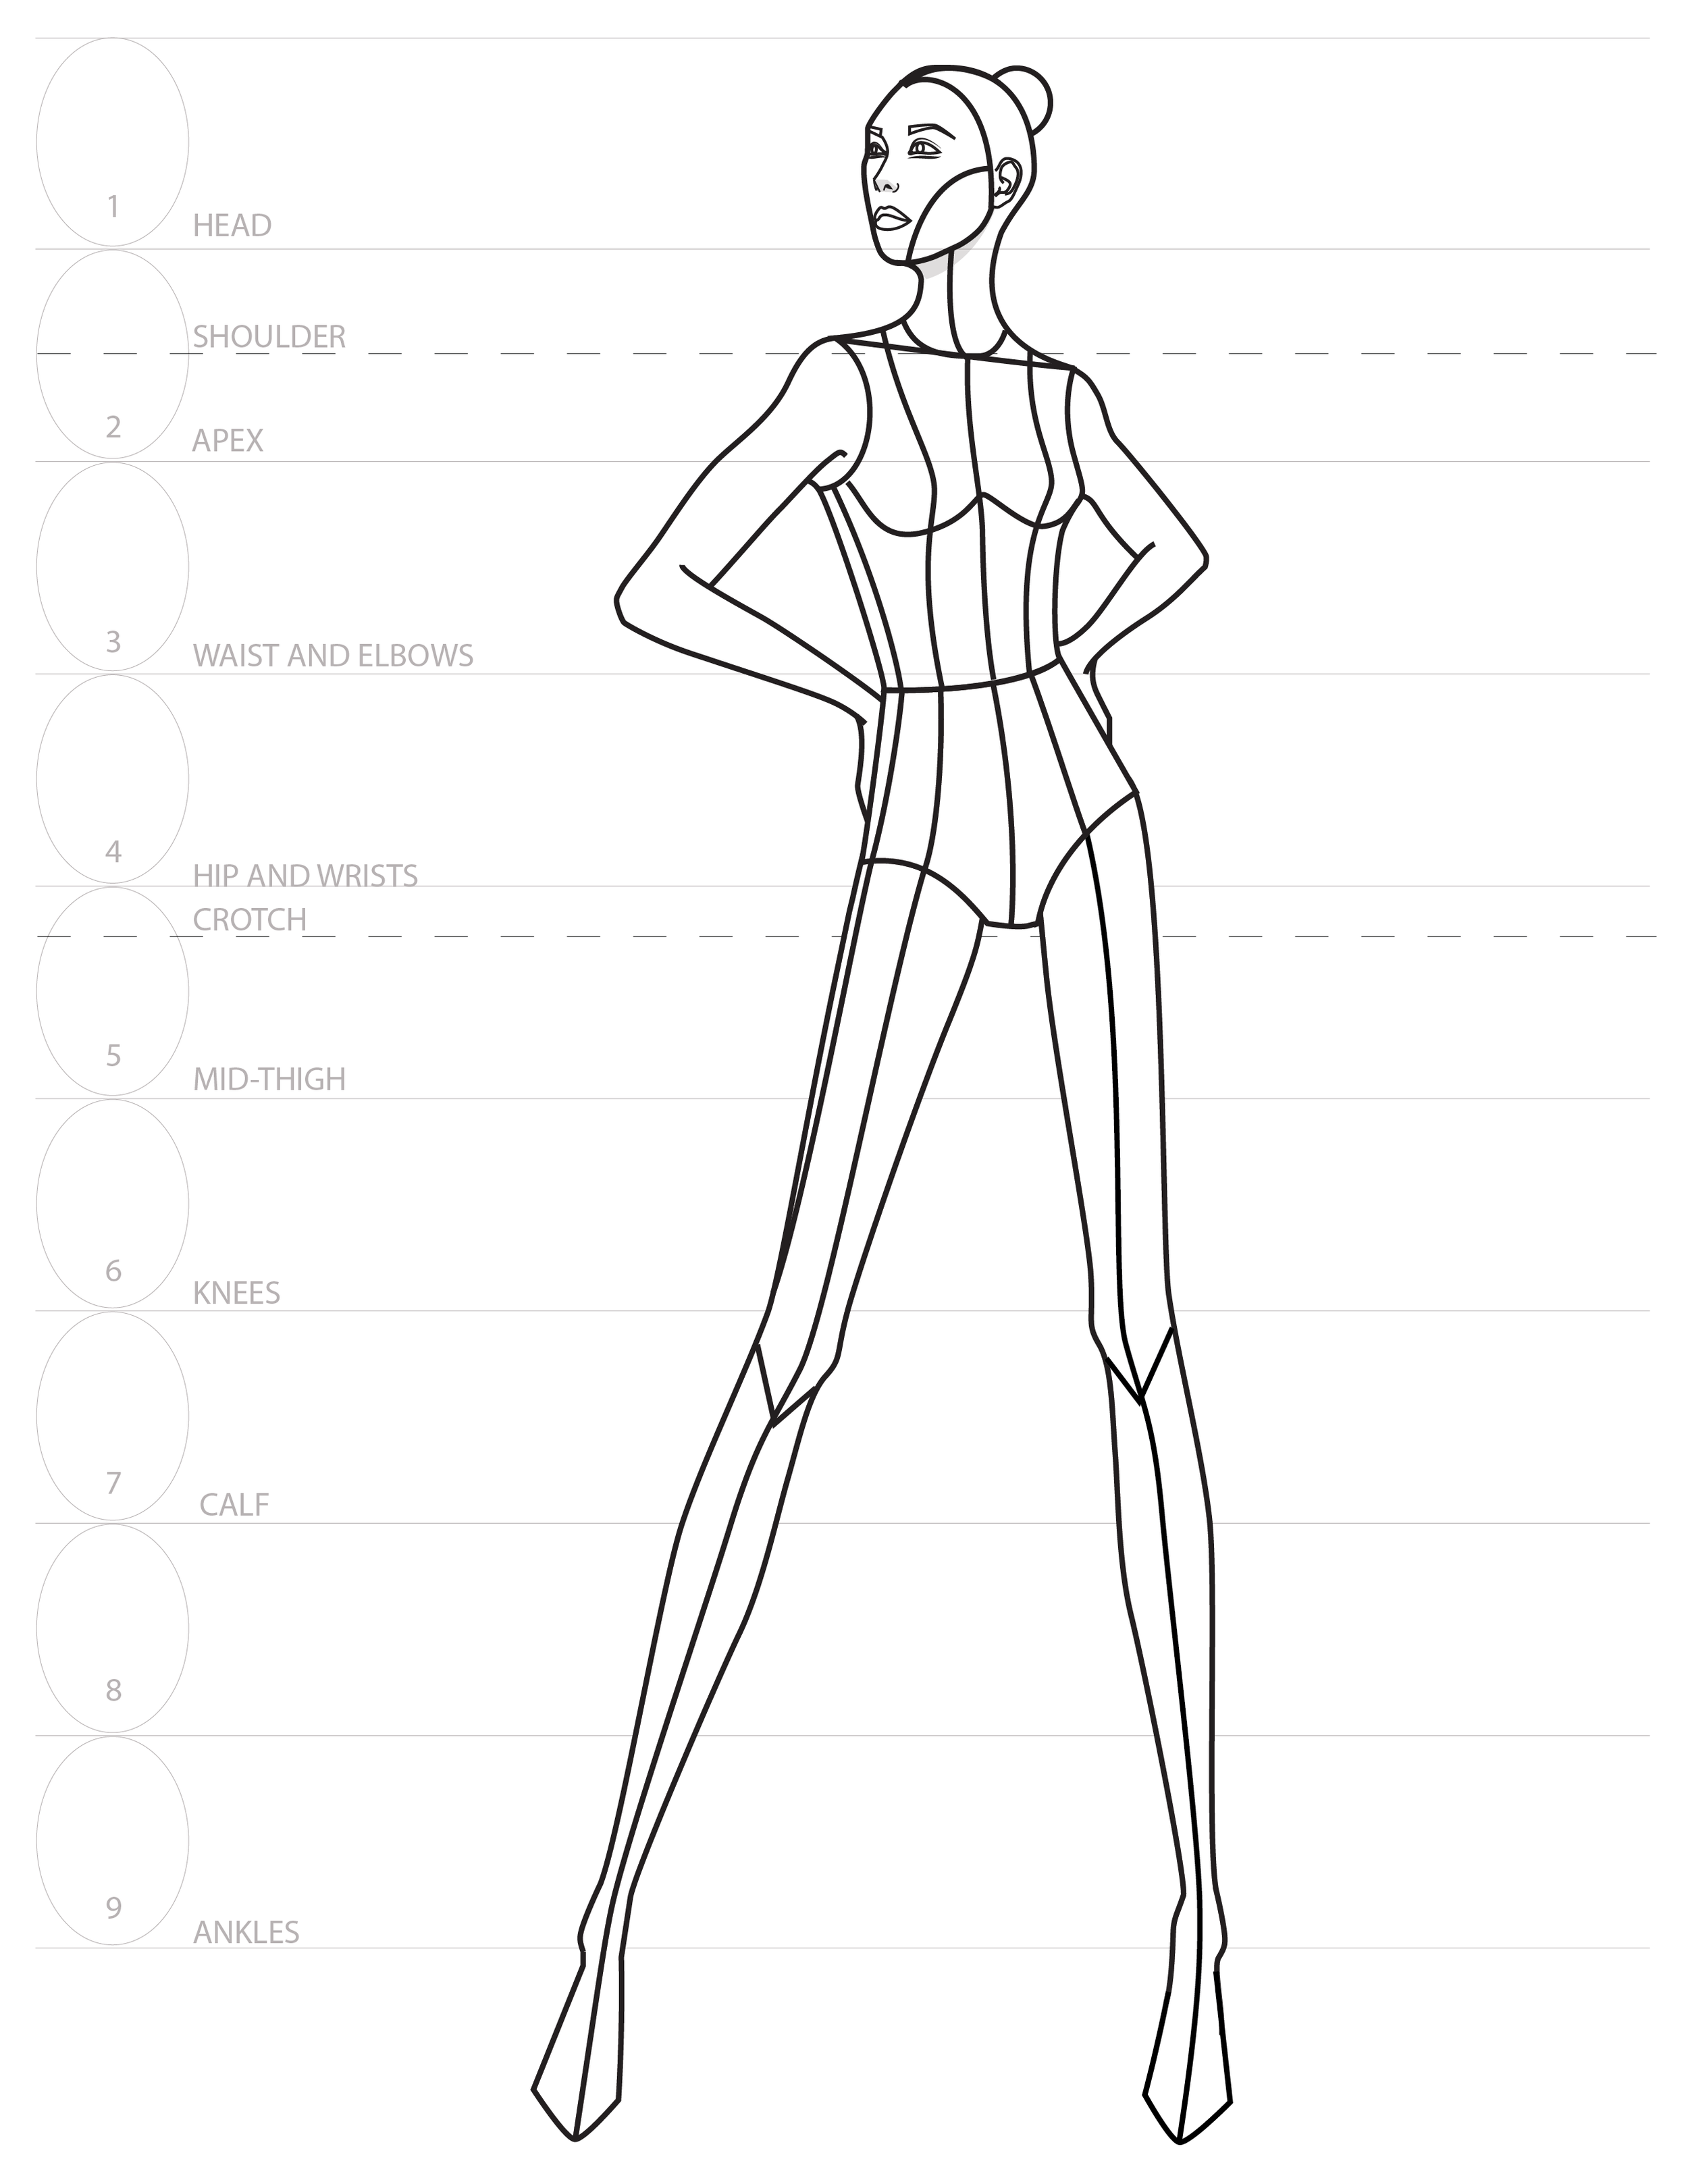
Step 4: Draw the non-essential structures
Draw the free leg, arms, hands, neck and head

Step 5: Add detail

The End
Woohoo! This is the end of the tutorial series. By now, you have a better understanding of constructing poses. And this is only the beginning...
The more you practice drawing, the better you will get. I promise.
If you missed any of the previous lessons, I’ll leave them below.


Using Templates
If you're new to figure drawing, or not the best artist, give yourself a break. Drawing requires a lot of patience and practice. People ask me how long it took me to get where I am today. The painful truth? 20 years...and counting.
In the meantime, don't feel bad about using templates.
Lots of people use croquis templates to bridge the gap between their imagination as a designer, and their skills as an artist.
I understand how frustrating figure drawing can be... so I created this Croquis Kit. With this kit, you can start drawing beautiful fashion designs now.

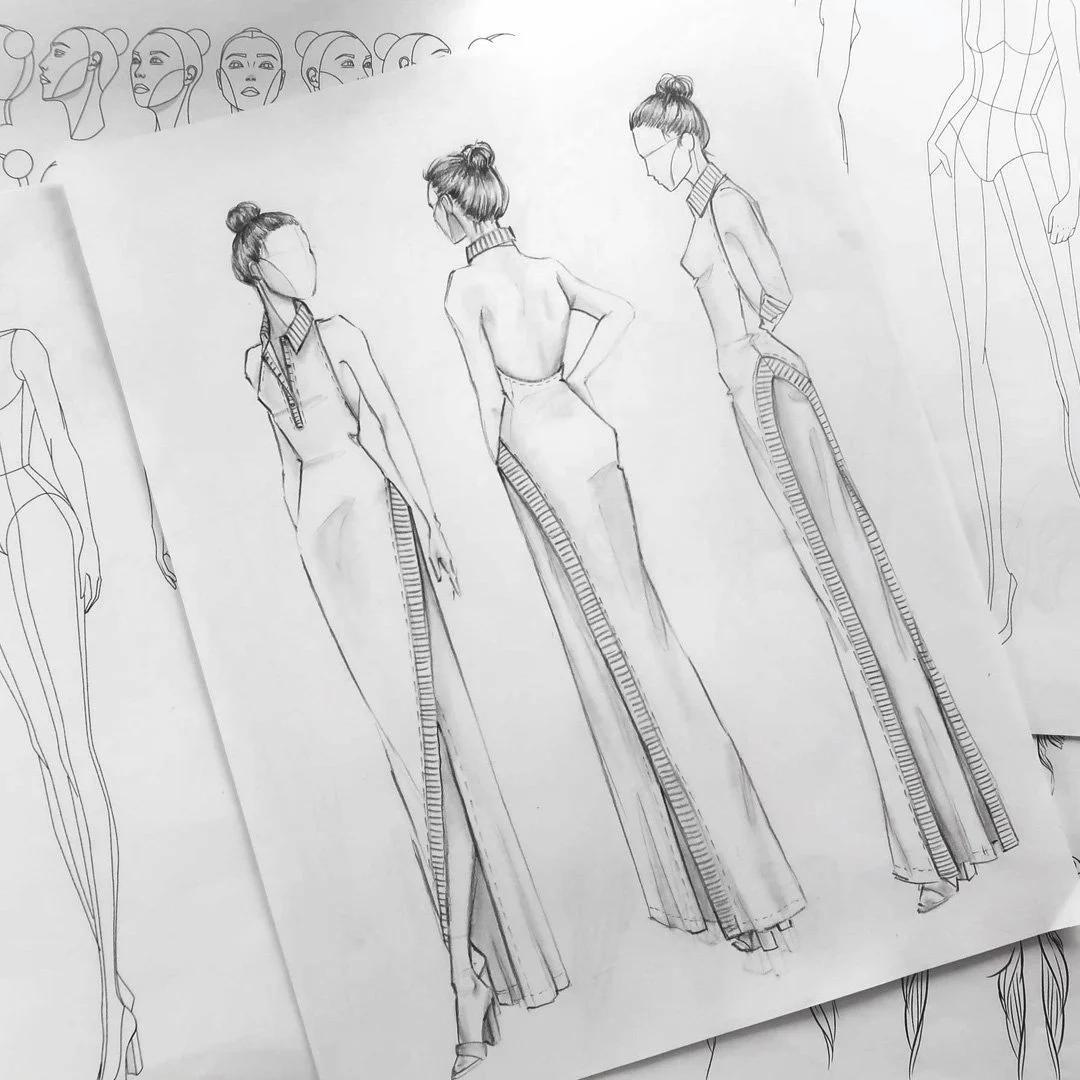
Sketch created using the Croquis Kit

Sketch created using the Croquis Kit
This Croquis Kit can liberate you from toiling over figure construction and anatomy so you can focus on designing clothes and fashion looks.
The premium kit includes 55 croquis, 27 head poses, 40 feet poses, 60 hand poses, and tons of hairstyles, shoes, and other accessories. In addition, there are cool bonuses like a PDF walking pose tutorial, technical flat template, and even an E-book on drawing the croquis from the front, side, back and partial views.
There's too much good stuff to mention here, and different pricing packages (from basic to premium,) so check out this page to learn more.
This is the last tutorial in this series.
By now, I feel confident that you have are equipped with the right tools to improve your illustrations.
Thanks for sticking with me until the end. I’ll leave some more resources below.
With love,
-Amiko
More Resources
CROQUIS POSE
Mini Video Course Drawing the 9-heads Basic Croquis
3 Tricks to Create New Croquis Poses
HEAD, FACE, + HAIR
Guide to Drawing the Face
Guide to Drawing the Turned Head
Youtube Course: Drawing the Turned Head and Face for Beginners (Front, 3/4, Side views)
Draw the Hair in 3 steps
FASHION DESIGN