
The Secret to Smooth Lines in Procreate
Have you ever zoomed in on your sketch and thought, “wow, that hemline is doing its own thing…”
Crisp contours and confident curves are beautiful in fashion illustration, but getting them right (especially on a touchscreen) can be challenging.
Fortunately, you don’t need perfect hand control to draw clean lines in Procreate.
In this post, we’ll walk through three Procreate features for smoothing out your strokes.
1. 〰️ Stabilization = Built-In Smoothing While You Draw
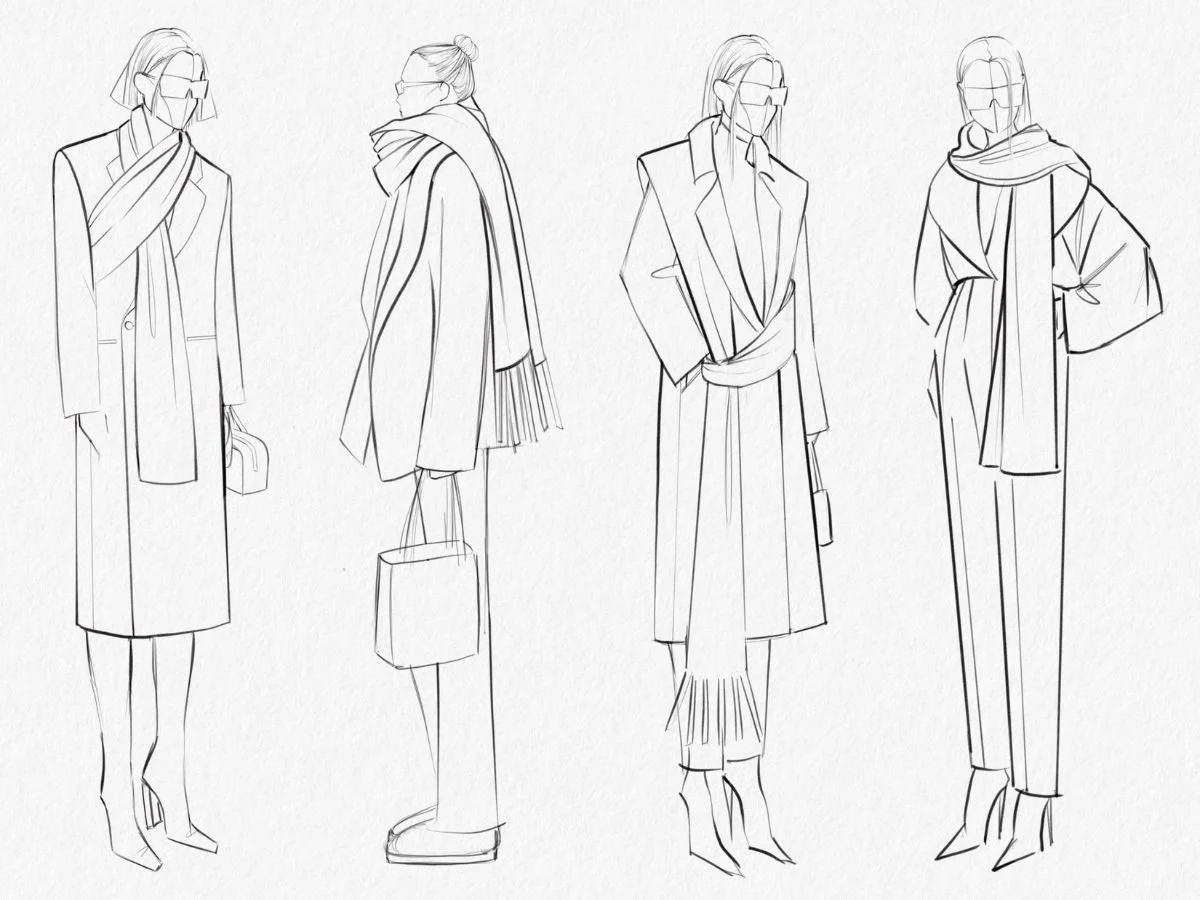
Stabilization is a feature in Procreate that smooths and straightens your strokes. It’s especially helpful for fashion sketching—think fluid necklines, curved hems, and clean croquis outlines.
There are two kinds of stabilization in Procreate:
→ Global stabilization, which applies to everything you draw
→ Brush-specific stabilization, which is built into (or adjusted on) individual brushes
Let’s walk through both.
🌎 Global Stabilization (Affects Every Brush)
This is a setting that overrides brush behavior across the board. If it’s turned up, every single line you draw will be smoothed out, even if the brush you’re using wasn’t designed that way.
How to adjust it:
1.Tap the Actions (wrench) icon
2.Go to Prefs > Pressure & Smoothing

3.Adjust the Stabilization slider (0–100%)
Start with stabilization around 10–15%, then experiment with higher settings to see what feels right. Remember to turn it back down when you switch tasks.
⚠️ Important: If you forget to turn it off, your Apple Pencil might suddenly feel “laggy” or like it’s not responding sharply. This is one of the most common beginner headaches—and it’s almost always global stabilization.

🖌 Brush Stabilization (Per Brush, More Flexible)
Most of the time, you'll want to adjust stabilization on a per-brush basis.
How to adjust brush stabilization:
⚠️ I recommend duplicating brushes before adjusting settings. (swipe brush to the left and select duplicate)
1.Tap the brush icon to open your Brush Library
2.Select a brush and tap it again to open Brush Studio
3.Go to the Stabilization tab in the left menu
4.Adjust:
Stabilization > Amount: Smooth and straightens the stroke
StreamLine > Amount: Reduces stroke wobbles and shakes

🧵 The custom Procreate Fashion Brushes already include a bit of built-in smoothing—especially for pencil, stitch, and inking tools. But you can tweak them further to match your preference.
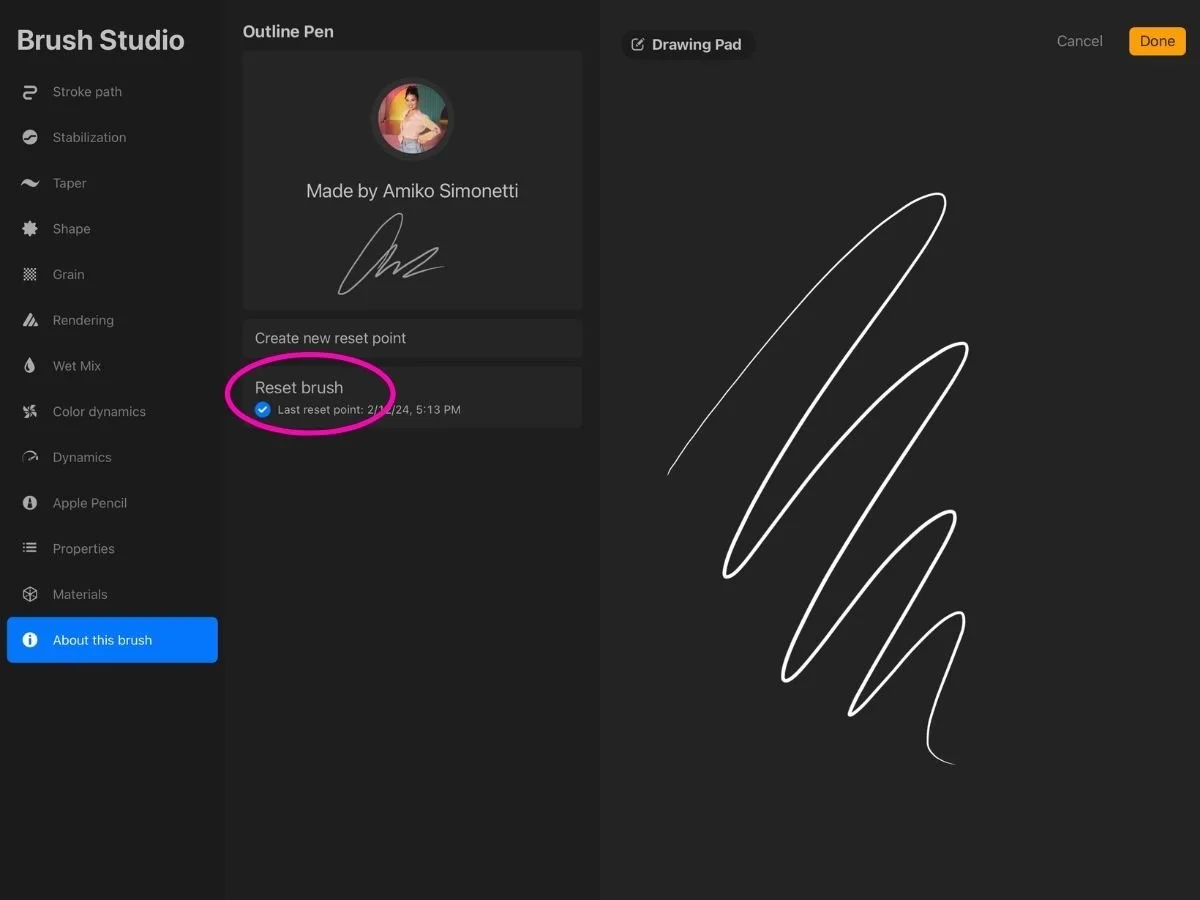
🔄 To reset the brush to its original settings:
1. Tap the brush to open Brush Studio
2. Tap the About this Brush tab (bottom of the left-hand list)
3. Tap Reset BrushThis will restore everything, including stabilization, to its original settings. This is especially helpful if you’ve adjusted multiple settings and want to start fresh.
⛔ When Smooth Isn’t Your Friend
While stabilization can make your lines feel polished and professional, there are plenty of moments where you actually want the opposite.
Turn stabilization off or way down when you need:
Energy in your sketch lines or gesture drawing
Intentional texture, like frayed edges, fur, or denim washes
Sharp corners, like patch pockets or angular seams
Technical details, where precision matters more than fluidity
If your brush starts acting “off,” check both global and brush-level stabilization. It's an easy setting to forget.

2. 💧 Liquify = Fix It After the Fact
What it does: Liquify lets you push, pull, or gently sculpt parts of your drawing—like you’re moving wet paint on glass.
Why it’s helpful: Instead of erasing and redrawing, you can fix slight imbalances. It works for nudging one shoulder a little lower, re-shaping lines and curves, and making proportional changes.
How to use Liquify:
1.Tap the magic wand icon (Adjustments).
2.Choose Liquify.

3.Use the Push setting (the default tool).

4.Gently drag your pencil to move or shift areas of the drawing.
Adjust these settings at the bottom of the screen:
Size: Controls how large the brush area is.
Pressure: Sets how strongly the effect is applied.
Distortion: Adds a chaotic, jagged effect. Keep this at 0 for fashion sketches.
Momentum: Controls how long the movement continues after your stroke ends. Best left at 0 for precise edits.

Tap Reset to undo any changes, or tap the magic wand icon again to commit and exit Liquify mode.
⚠️ Use a light touch. Liquify is best for subtle corrections—not dramatic reshaping.
💡 Tip: Combine with Symmetry Mode
If you’re sketching with Vertical Symmetry turned on, Liquify will mirror your edits across both sides. That means you can fix symmetrical elements—like pant legs, sleeves, or a neckline—at the same time, without redrawing each side.
I recommend using Liquify on your draft or construction lines first, then creating a clean final sketch on a new layer. This gives you more control and ensures your final lines stay crisp and high resolution.
3. 📐QuickShape = Instant Geometric Precision
What it does: Turns your freehand shapes into perfect lines, curves, and angles.
Why it’s helps in fashion design: QuickShape is great for adding precise details—without needing a ruler. Use it to create clean hems, smooth neckline arcs, straight front plackets, or even pockets.
In the Procreate for Fashion Design course, we practice using QuickShape across four flat sketch lessons—so you can get comfortable with clean lines, sharp corners, and smooth shapes as part of your workflow.
How to use QuickShape:
1.Draw any shape (like a line, arc, pocket outline, or box).
2.Keep your Apple Pencil or finger held down at the end of the stroke—your drawing will snap into a perfect form.
If the shape isn’t quite balanced, place a finger on the canvas while still holding—Procreate will transform an uneven rectangle into a square, or an oval into a circle.
Adjust shape size or rotation by dragging your finger while still holding down the final point.
For precise rotation, keep holding and gently drag with a second finger—QuickShape will lock rotation to 15° increments.
3.When you lift your pencil, the “Edit Shape” button appears in the top notification bar—tap it to enter QuickShape Edit Mode.

4.In Edit Mode, transform nodes will appear on the shape—drag these to finely tweak each part. You can also tap shape-type buttons (like ellipse or line) to change the form.

5.Tap anywhere on the canvas to commit your changes and exit editing.
💡Clean Lines Take Practice
To recap:
Stabilization helps you draw smoother lines in real time
Liquify lets you gently fix or “push” strokes after drawing
QuickShape snaps rough shapes into clean, geometric forms
These tools all do the same quiet thing: they help you refine your sketch without starting over—so you can work faster, cleaner, and more confidently.
But even with these tools, sometimes you’ll need to redraw—and that’s completely normal. Especially when you're new to digital sketching, there’s an adjustment period. Drawing on a smooth glass screen can feel slippery or disconnected compared to paper or a Wacom tablet.
That’s why I recommend adding a paper texture background. It adds just enough visual grit to make sketching feel more familiar (even if it’s in your head.)

And if you’re new to sketching altogether, it’s just going to take some practice. Developing line confidence and hand-eye coordination is muscle memory. It builds over time.
So yes, learn these tools. Let them support your process. But also know that even experienced designers redraw their lines many, many times.
It’s part of the process.
Related Posts: